Getting started
Goal: finish “model configured → have a character card → send the first message.”
Steps overview
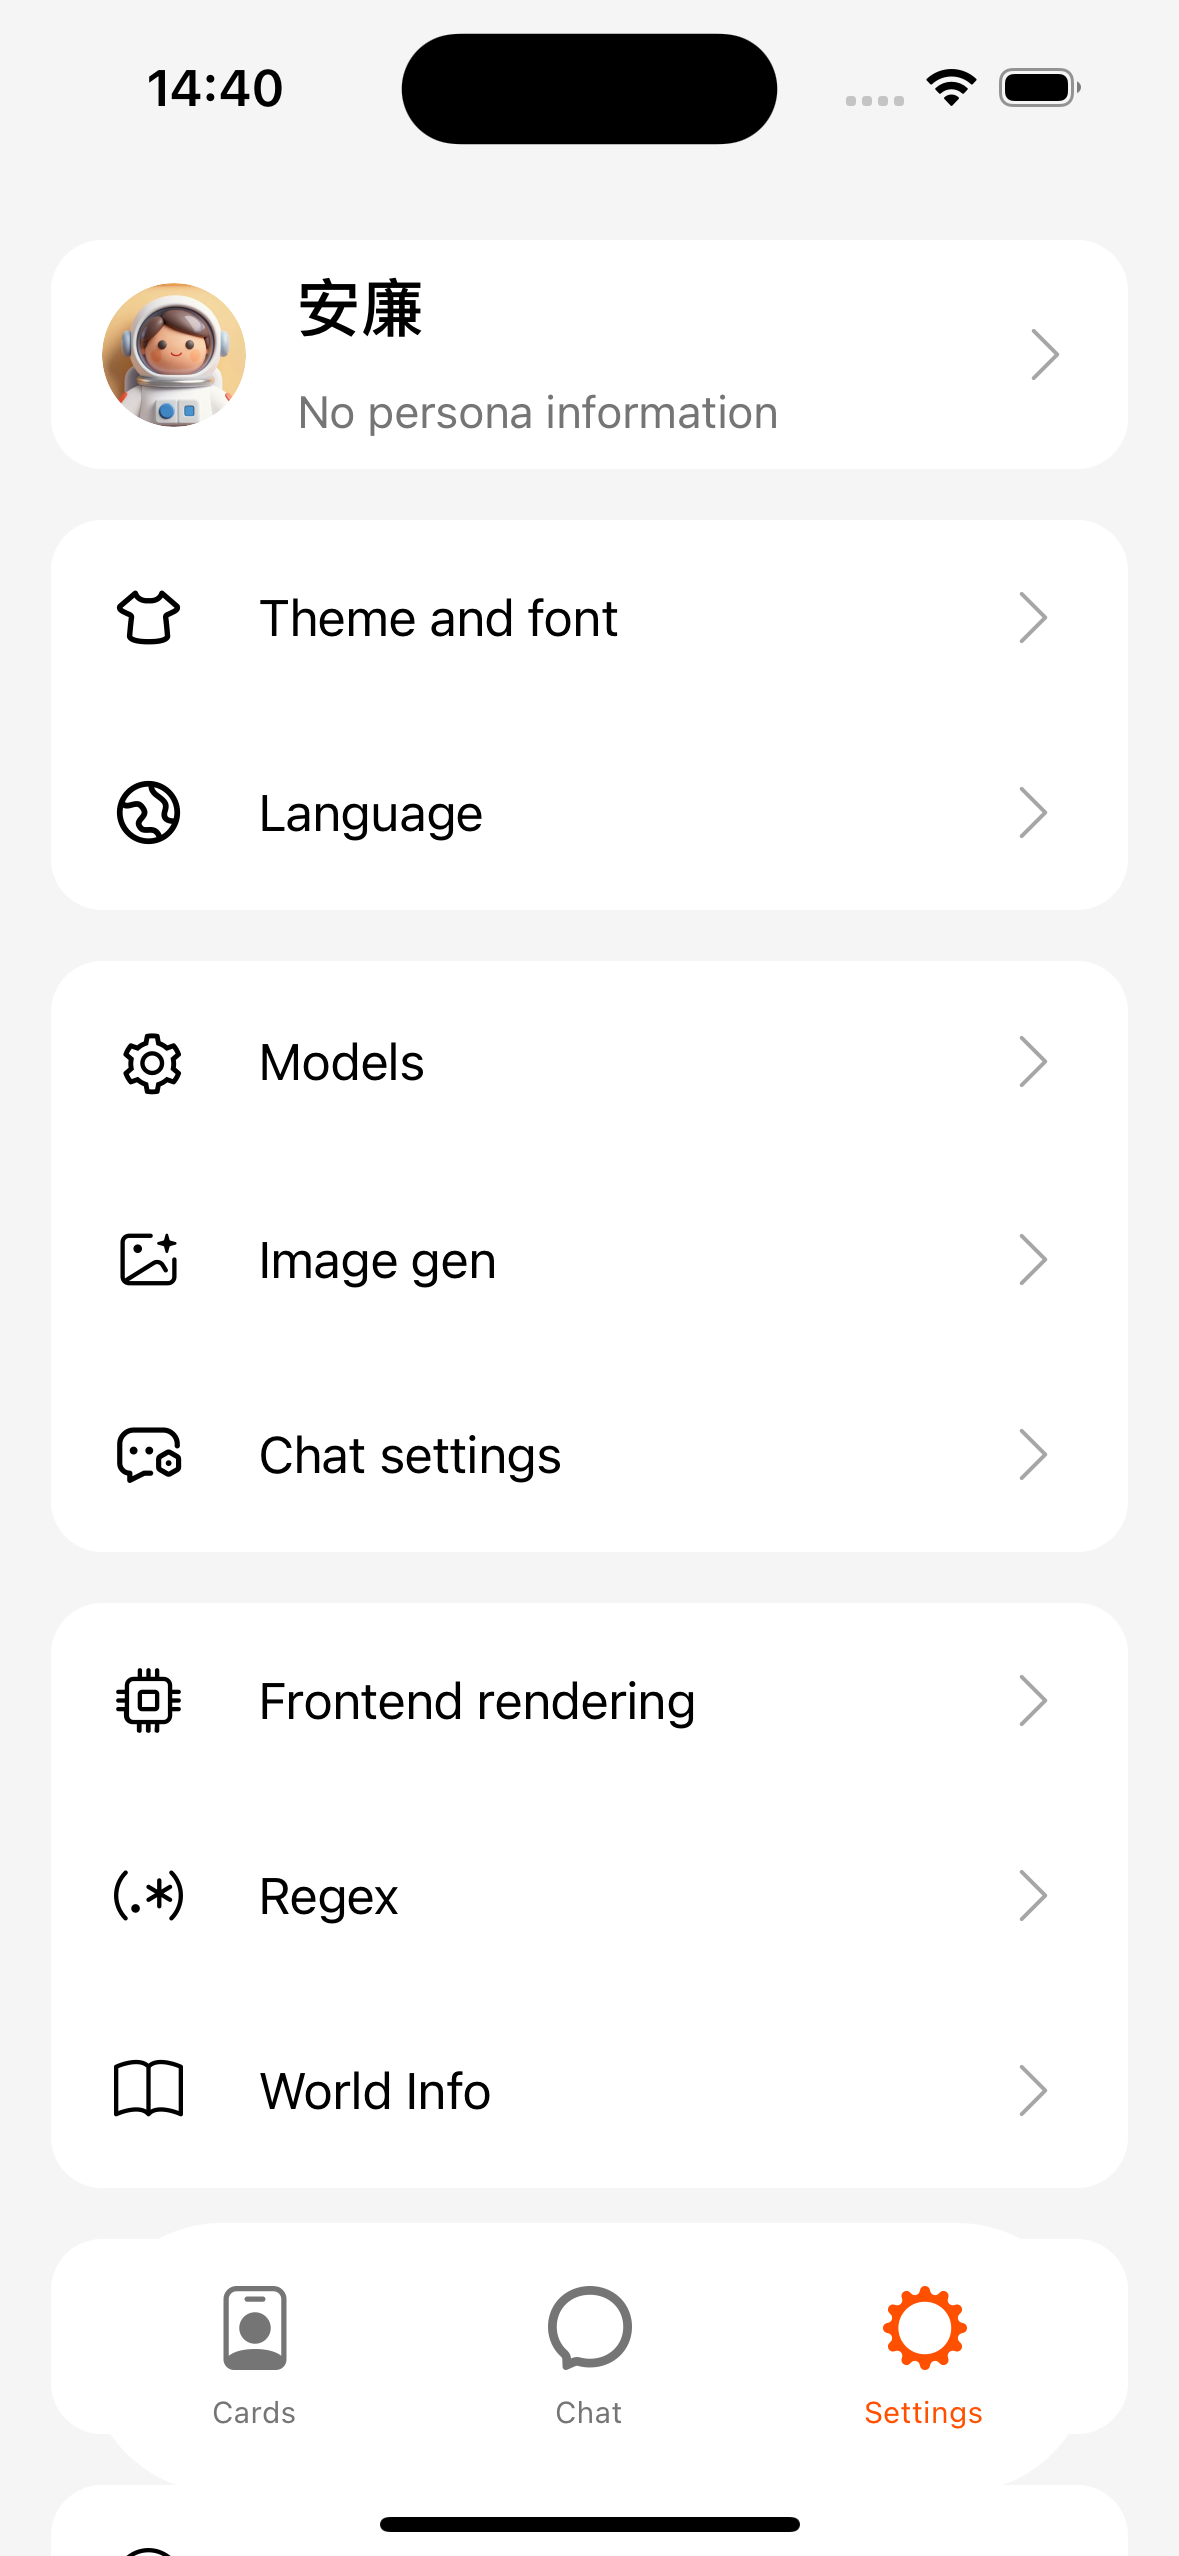
- Open the App and go to bottom Settings.
- Configure a Model link, test successfully, and set it as default.
- Bottom Characters → import or create a character.
- Start a chat from the character and send a message.
1. Configure AI (model link)
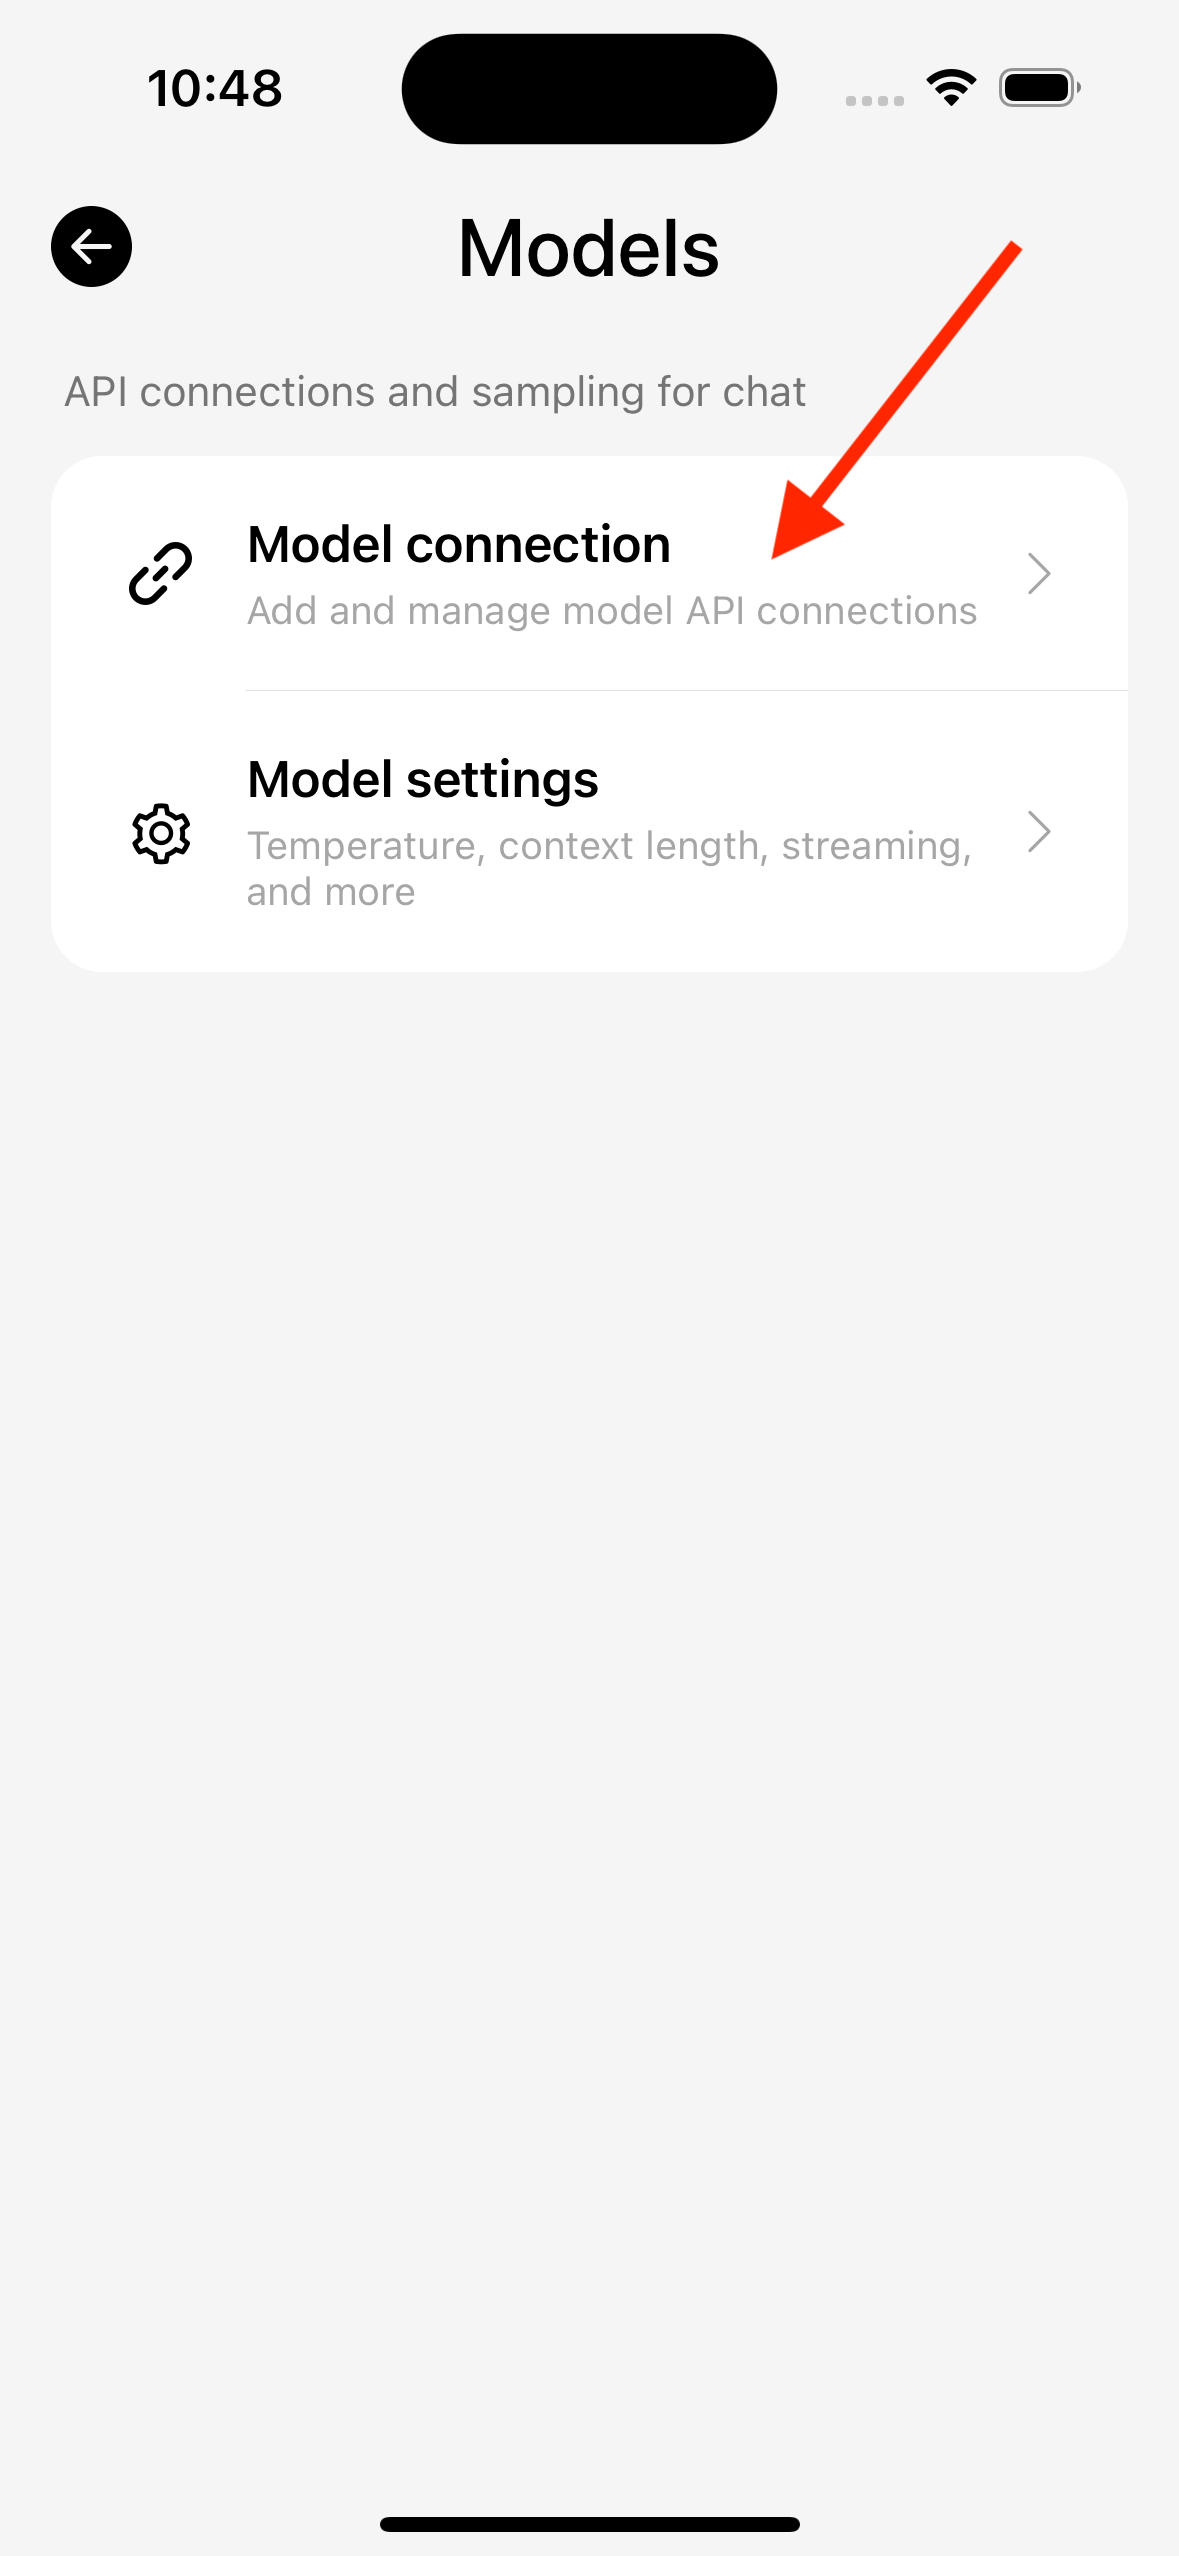
Path: Settings → Models → Model link → New
- Enter a name (defaults are fine).
- Choose a model platform (OpenAI, DeepSeek, Custom (OpenAI), etc.).
- Paste the API Key (local services can often leave it blank or use a placeholder).
- Confirm Base URL (required for custom protocols, e.g.
https://api.xxx.com/v1). - Select or type the model ID.
- Tap Test; save after success, then set it as Default in the list.
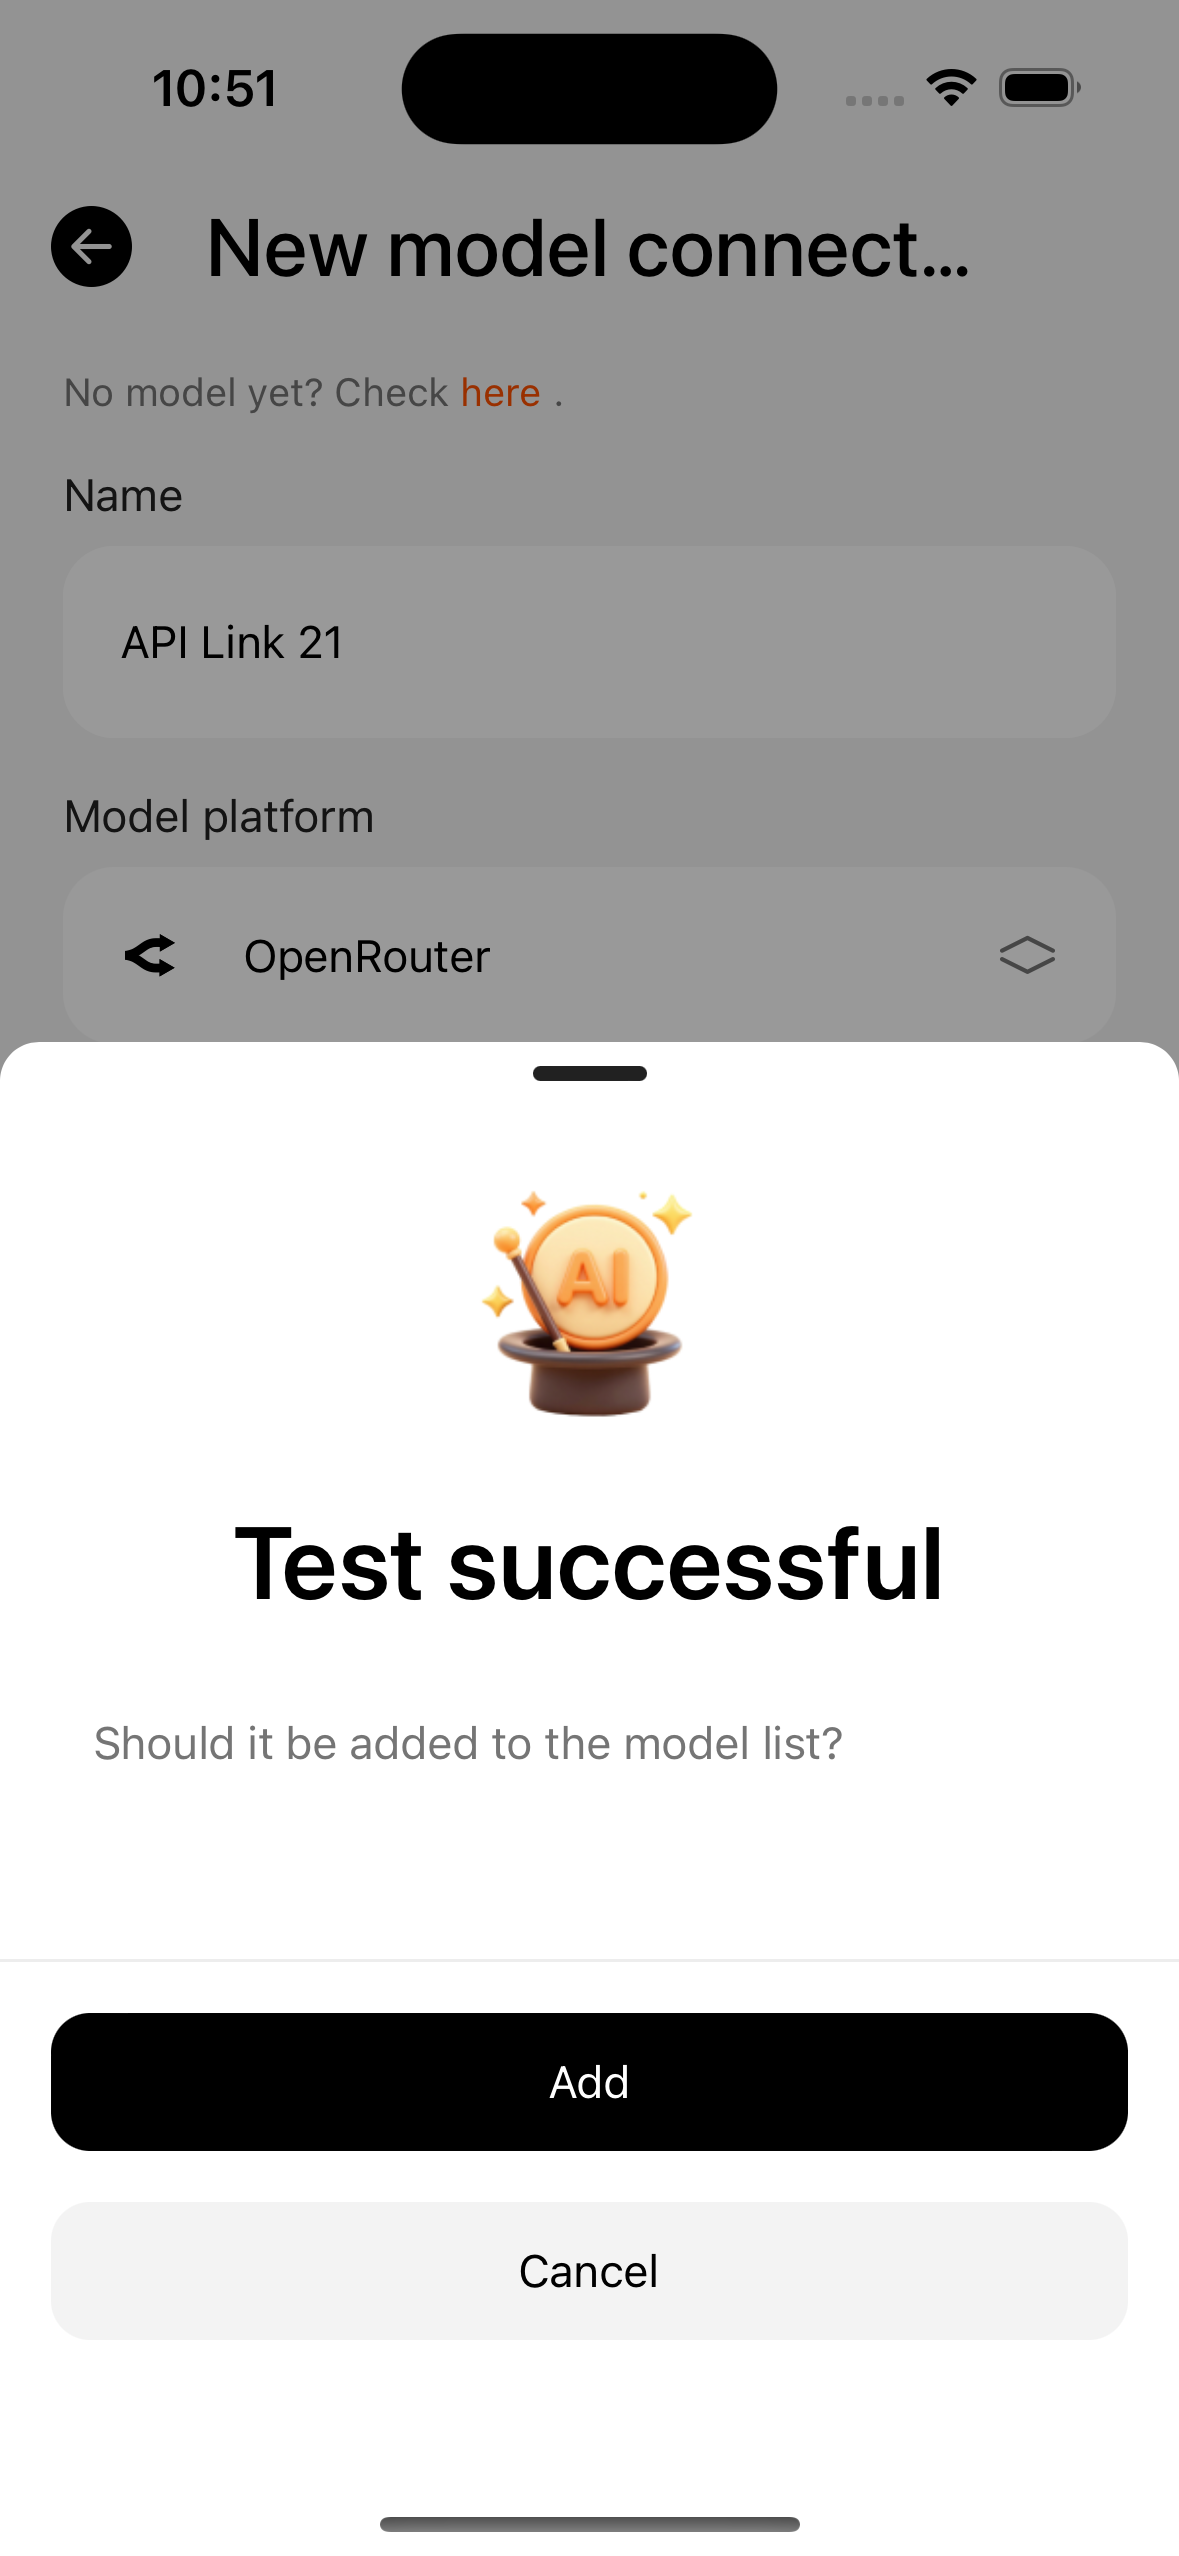
On failure, tap “View details” and check Error codes.
2. Import your first character card
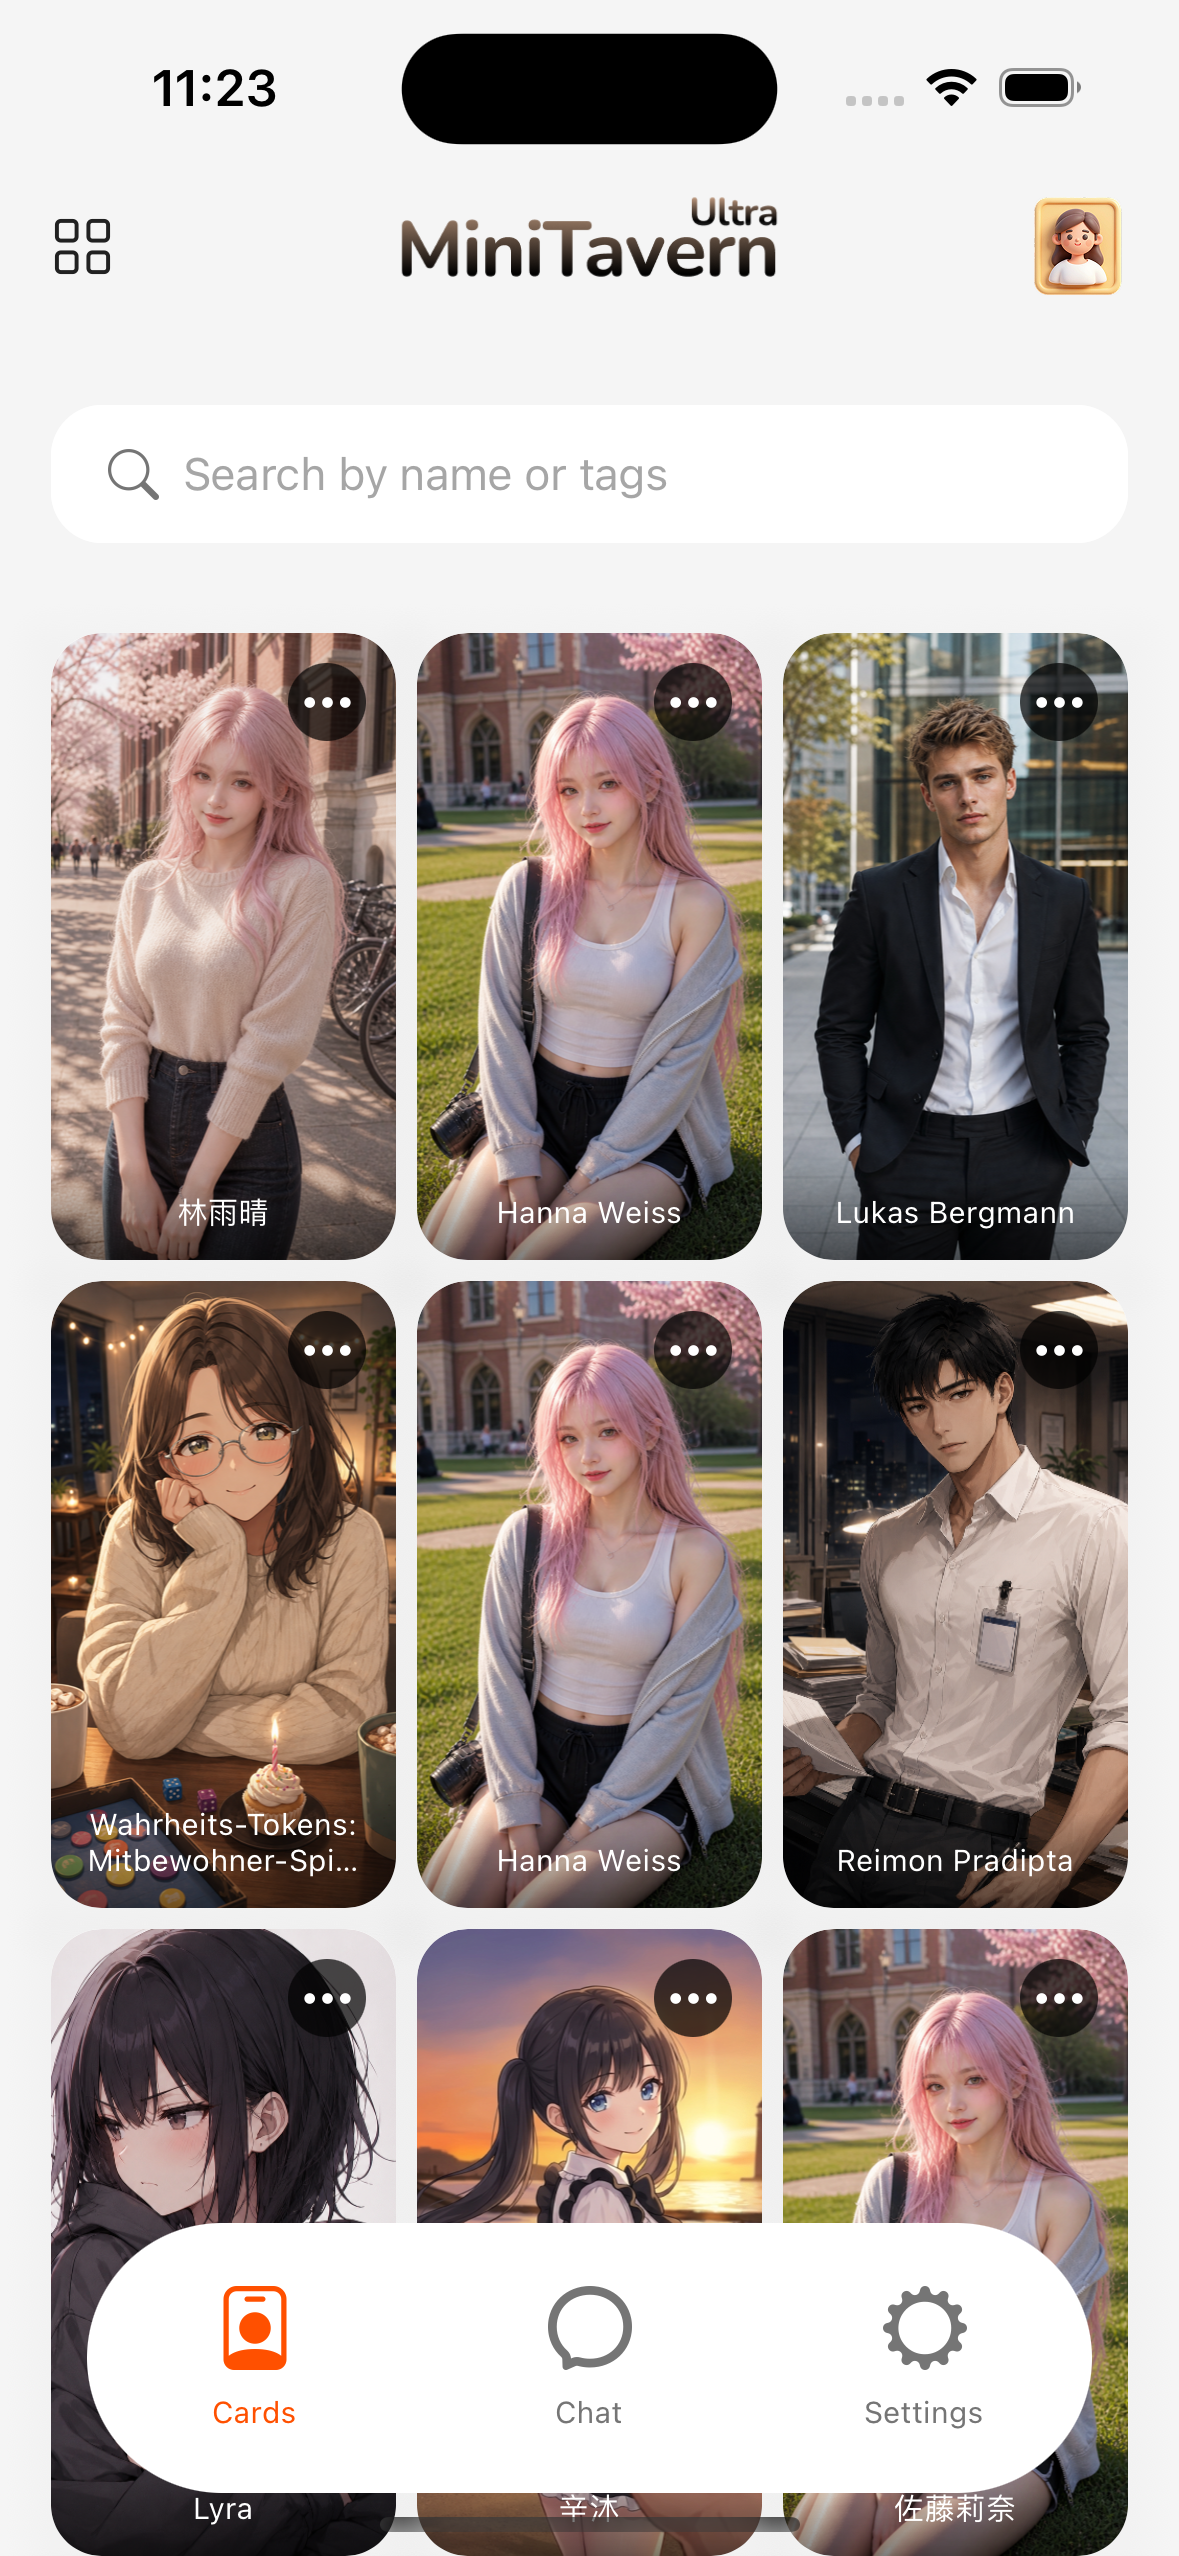
Path: bottom Characters → Create / Import (see Character cards).
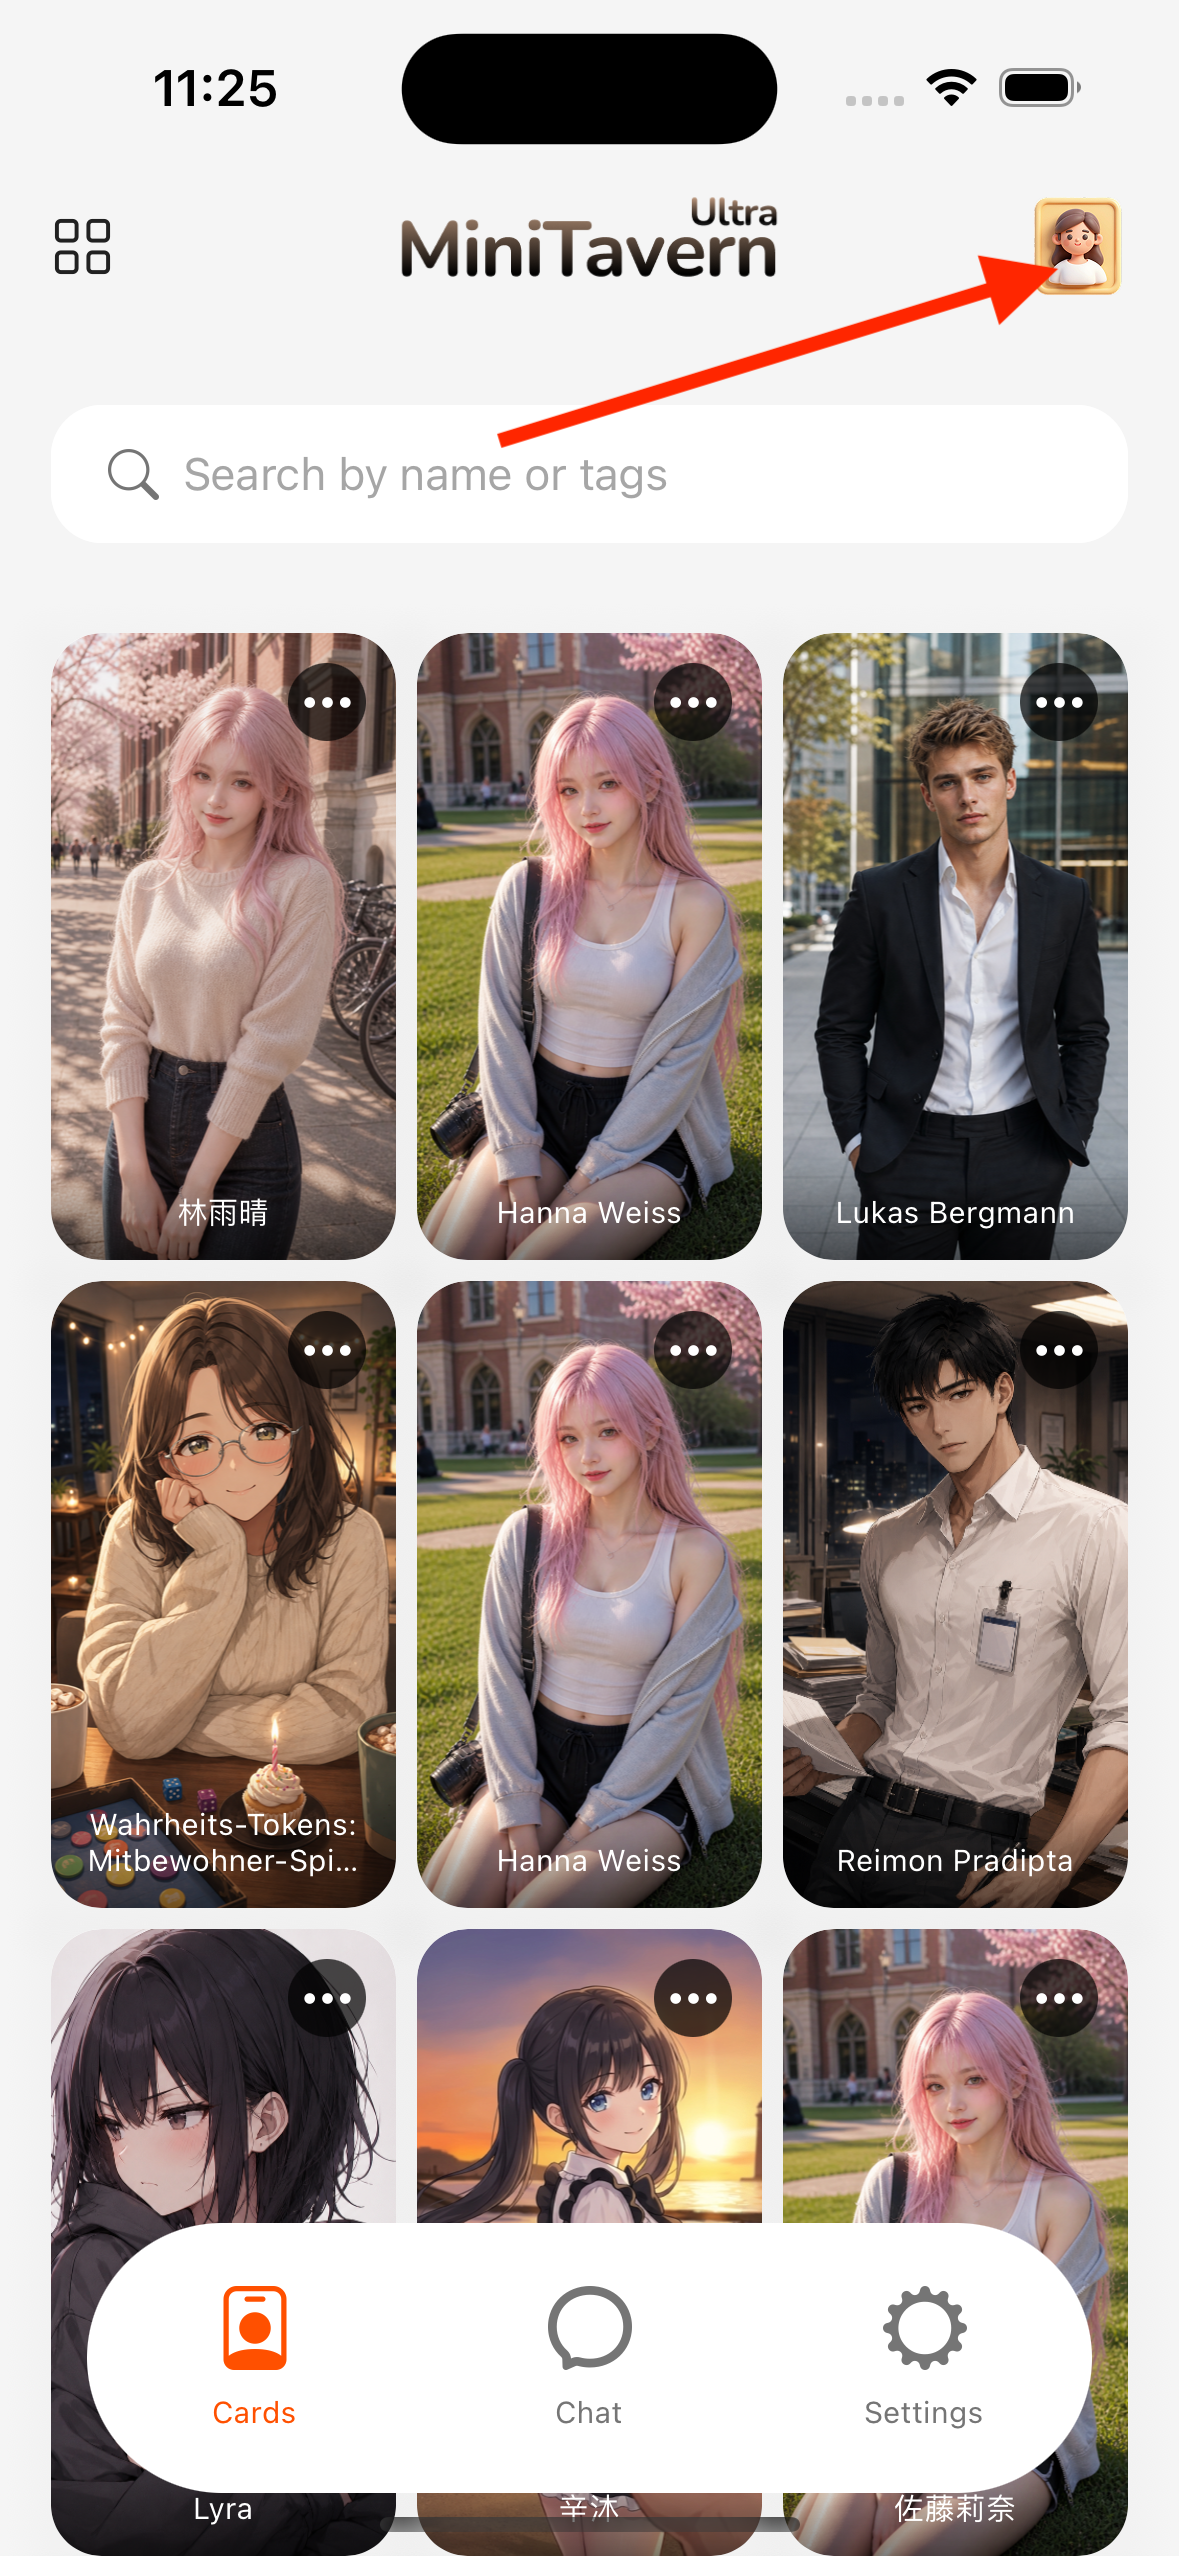
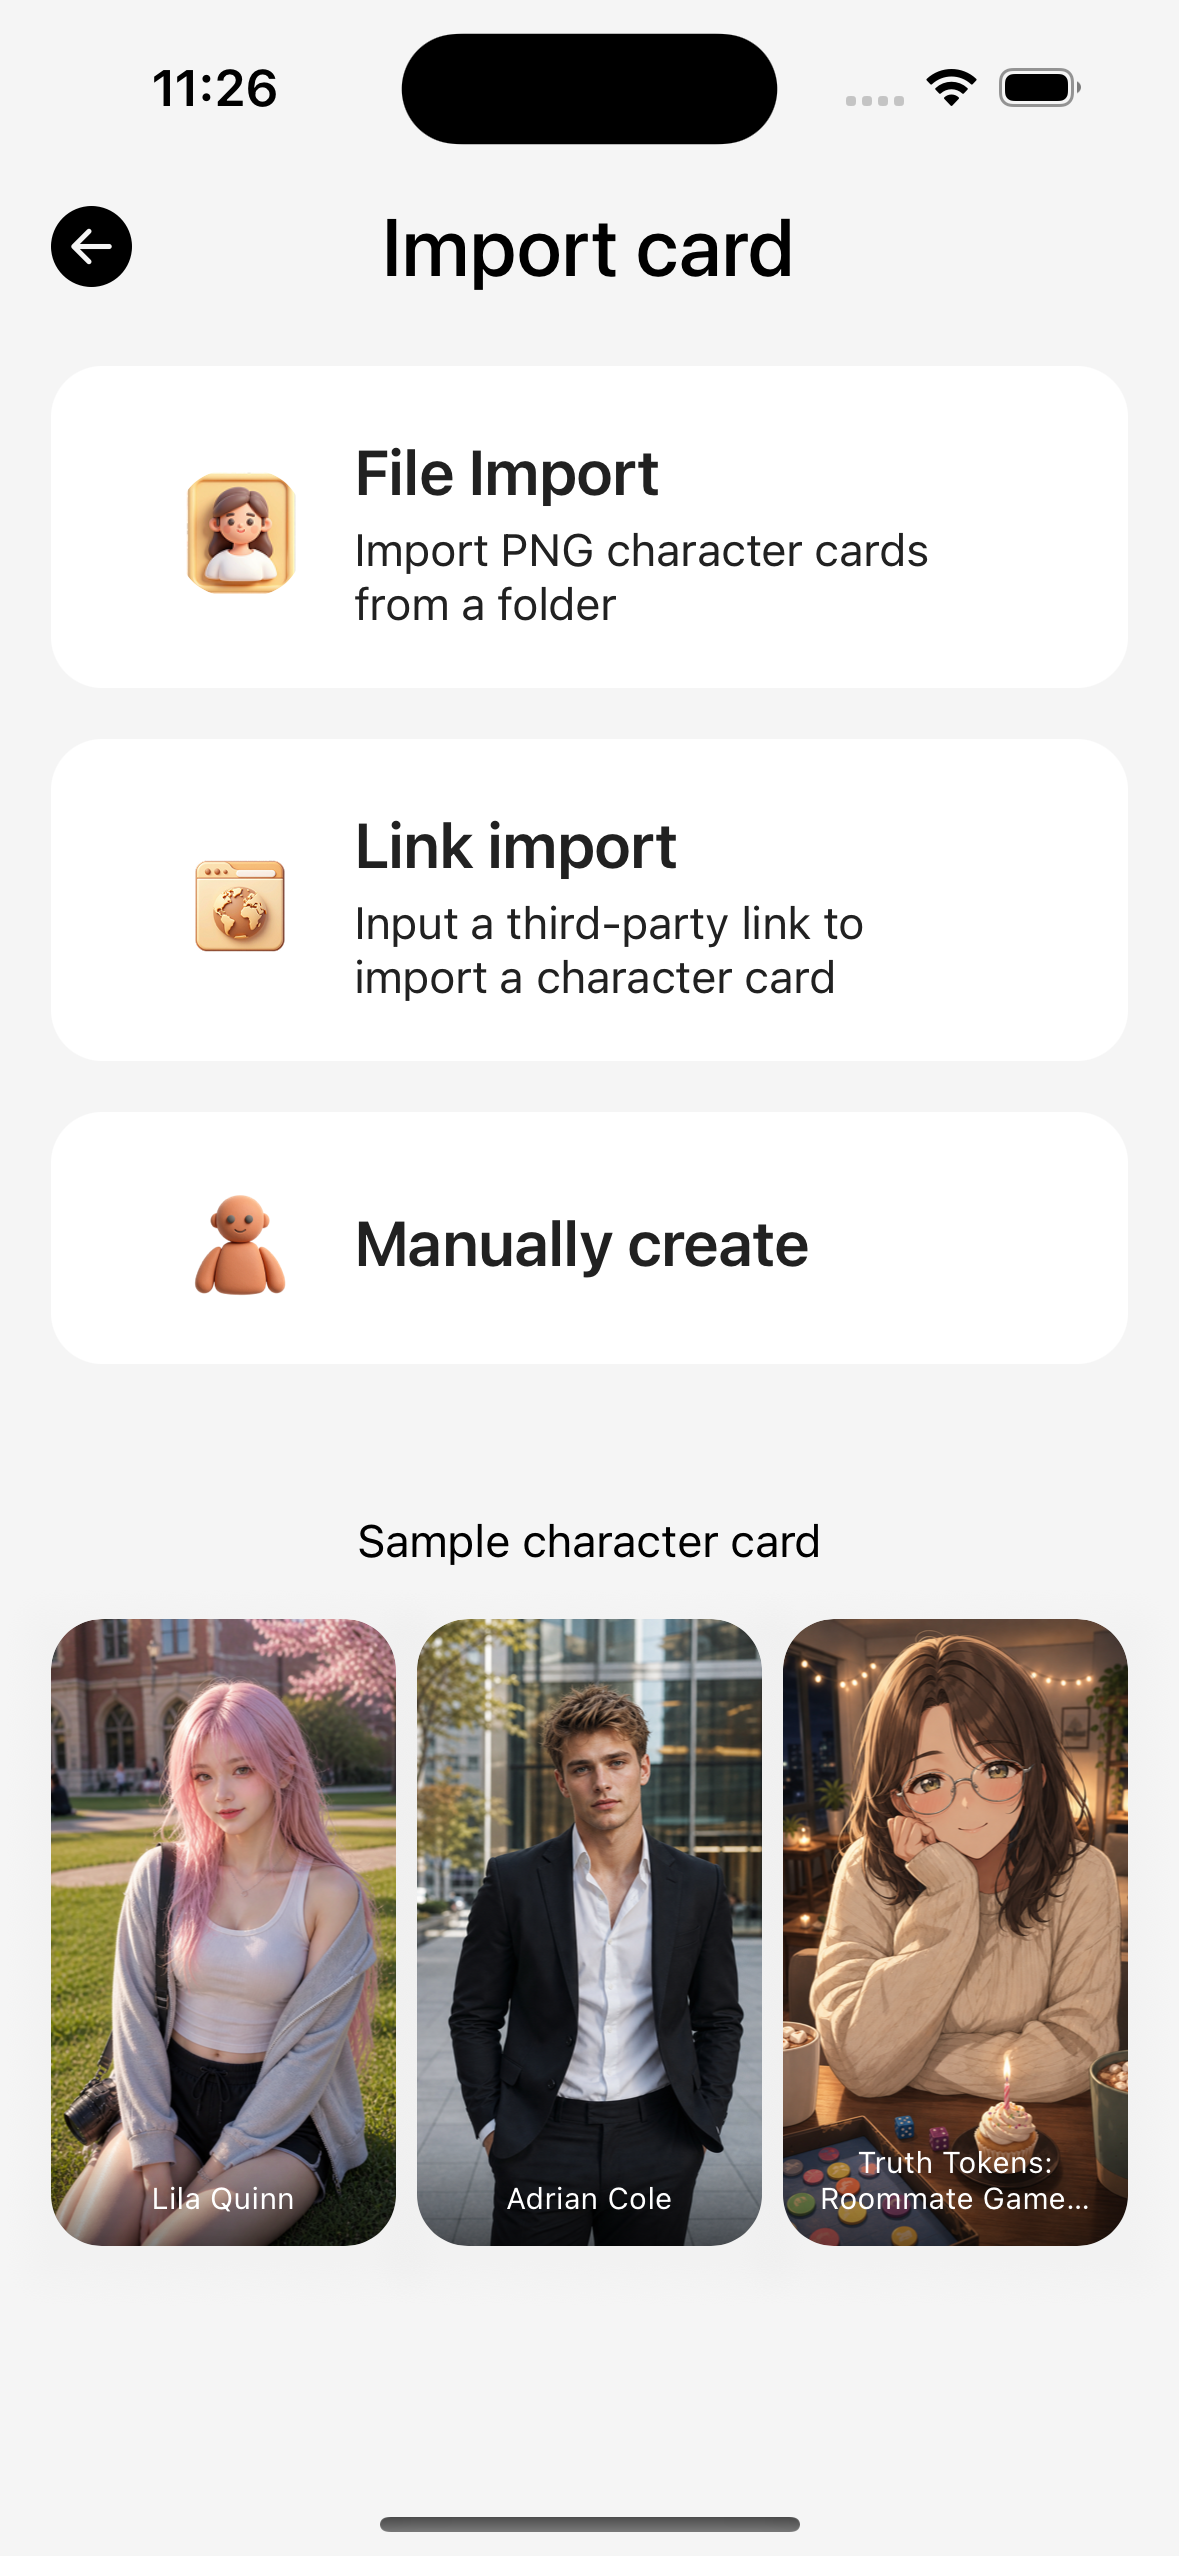
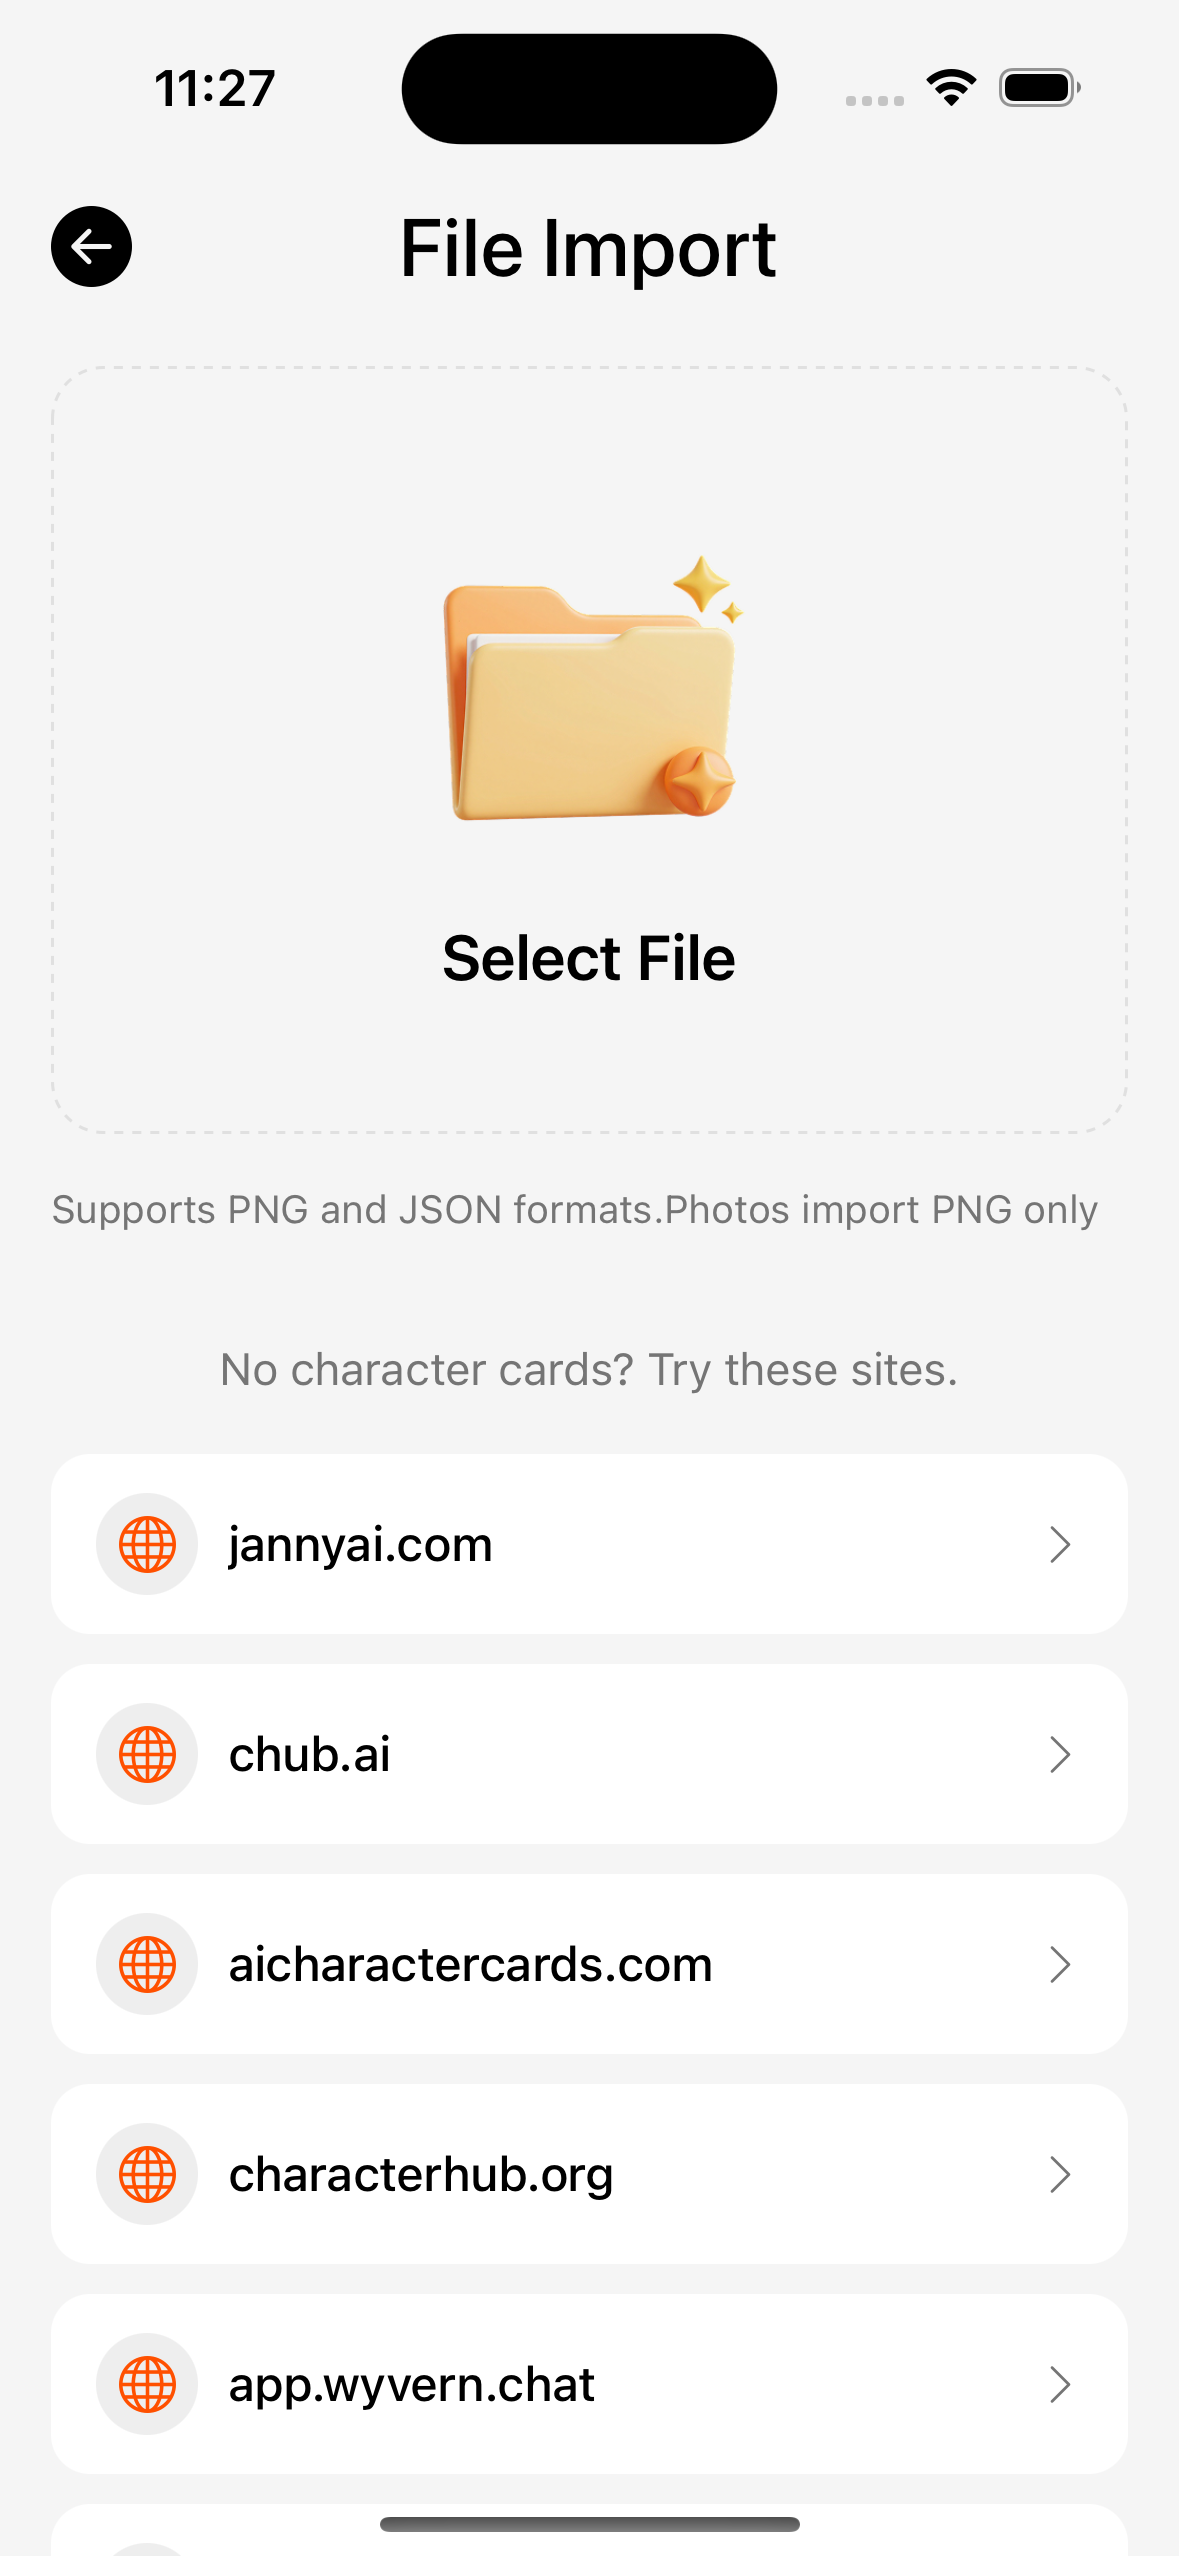
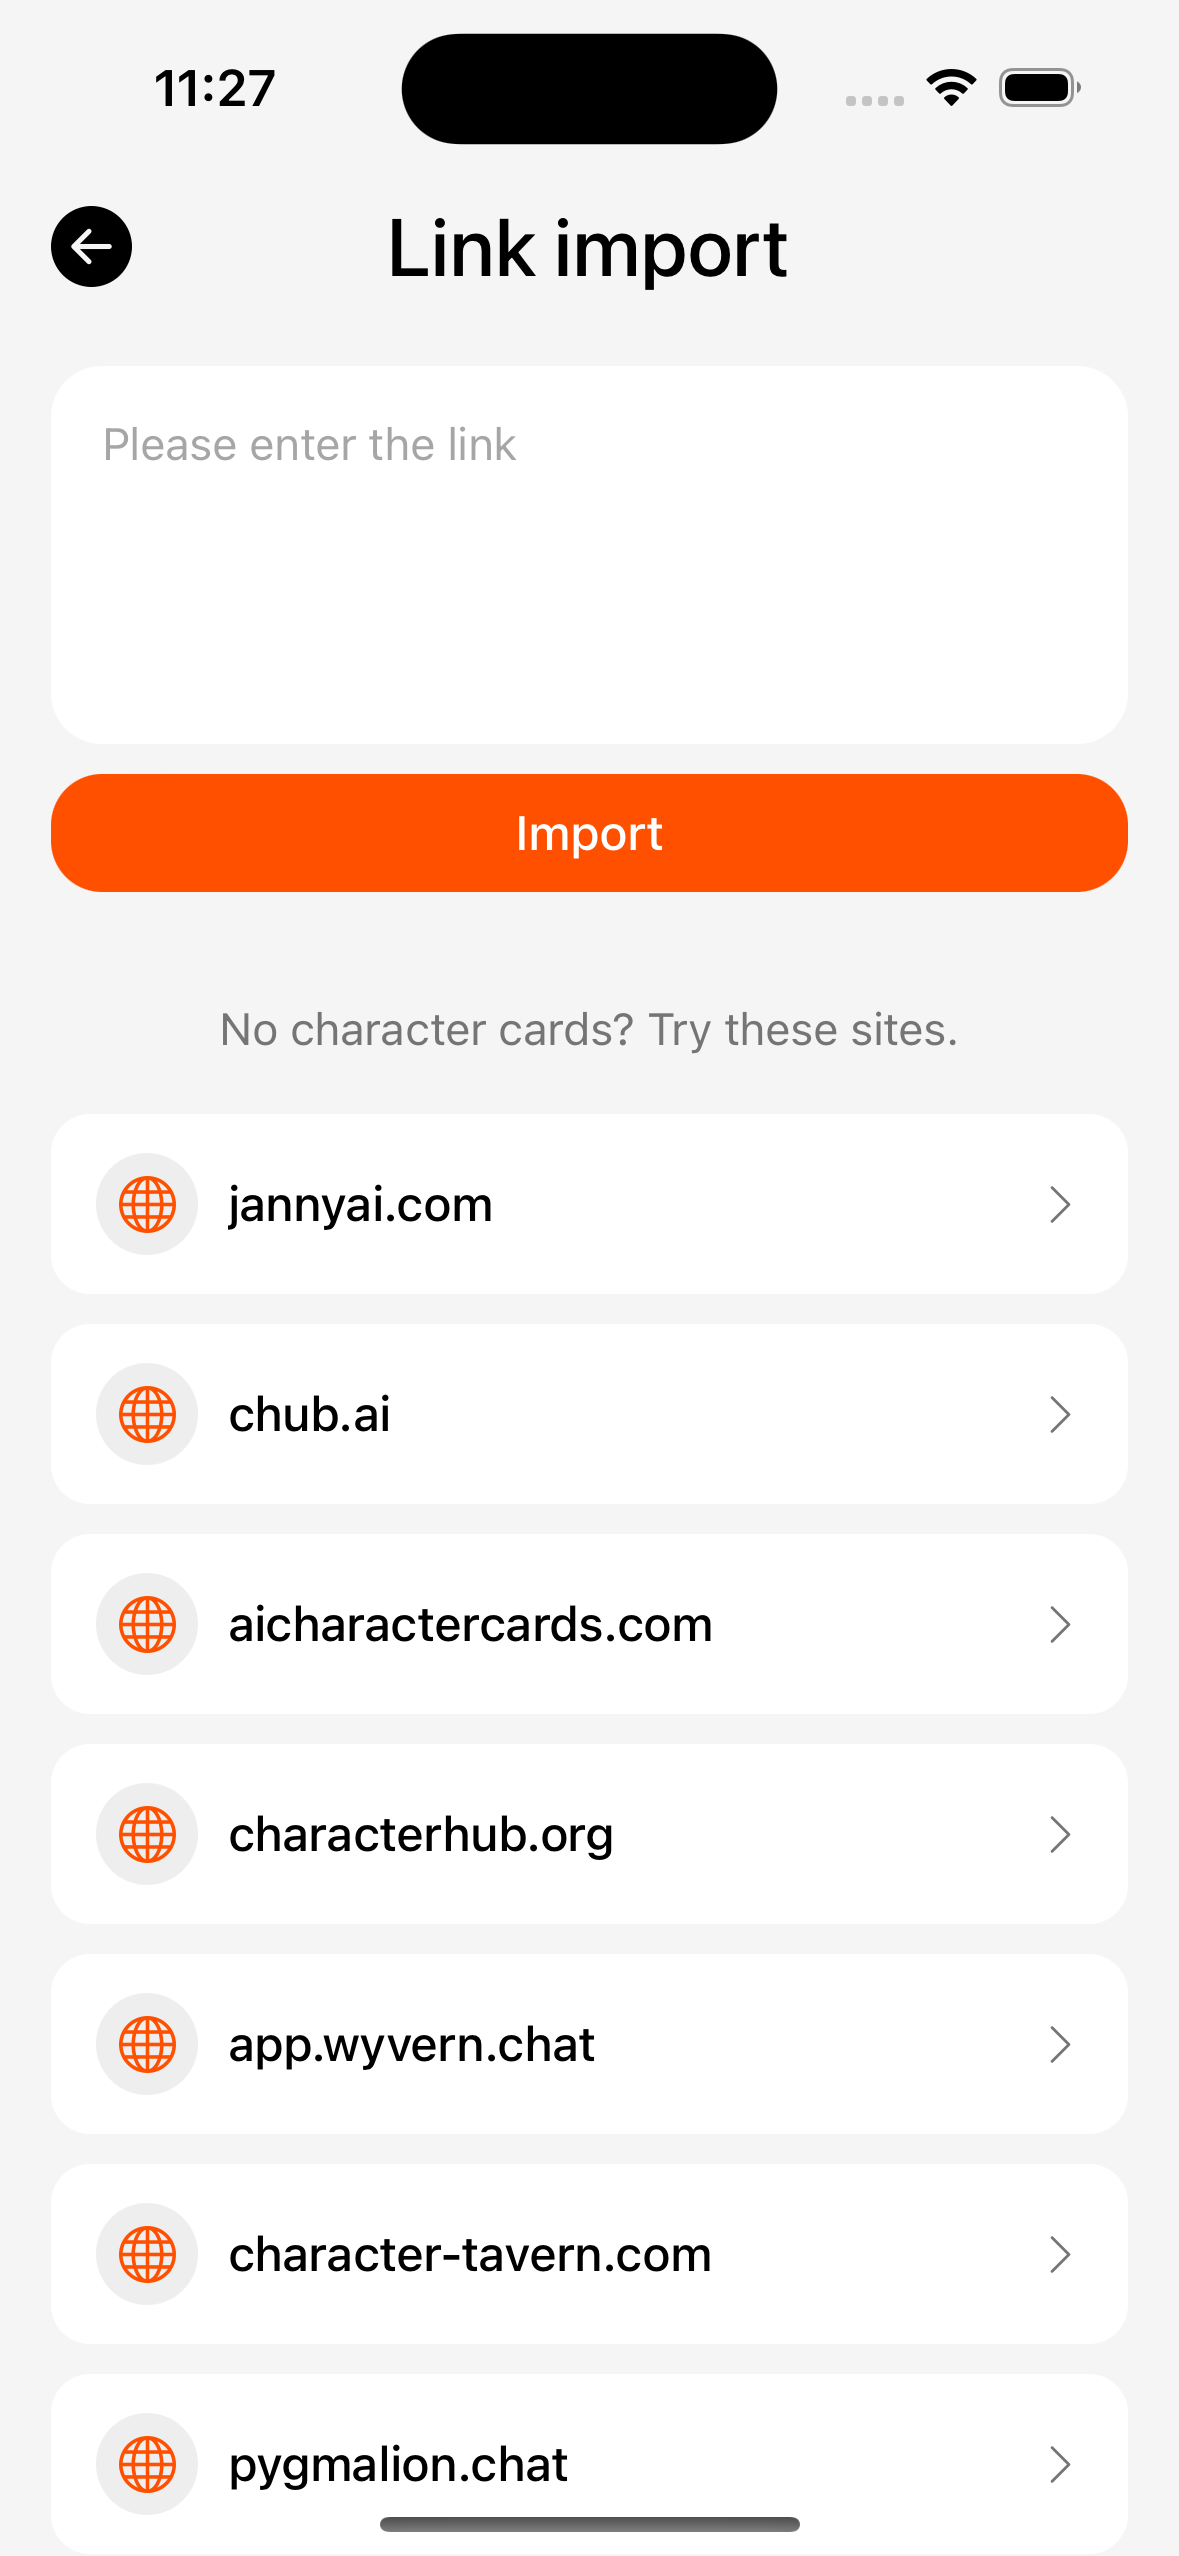
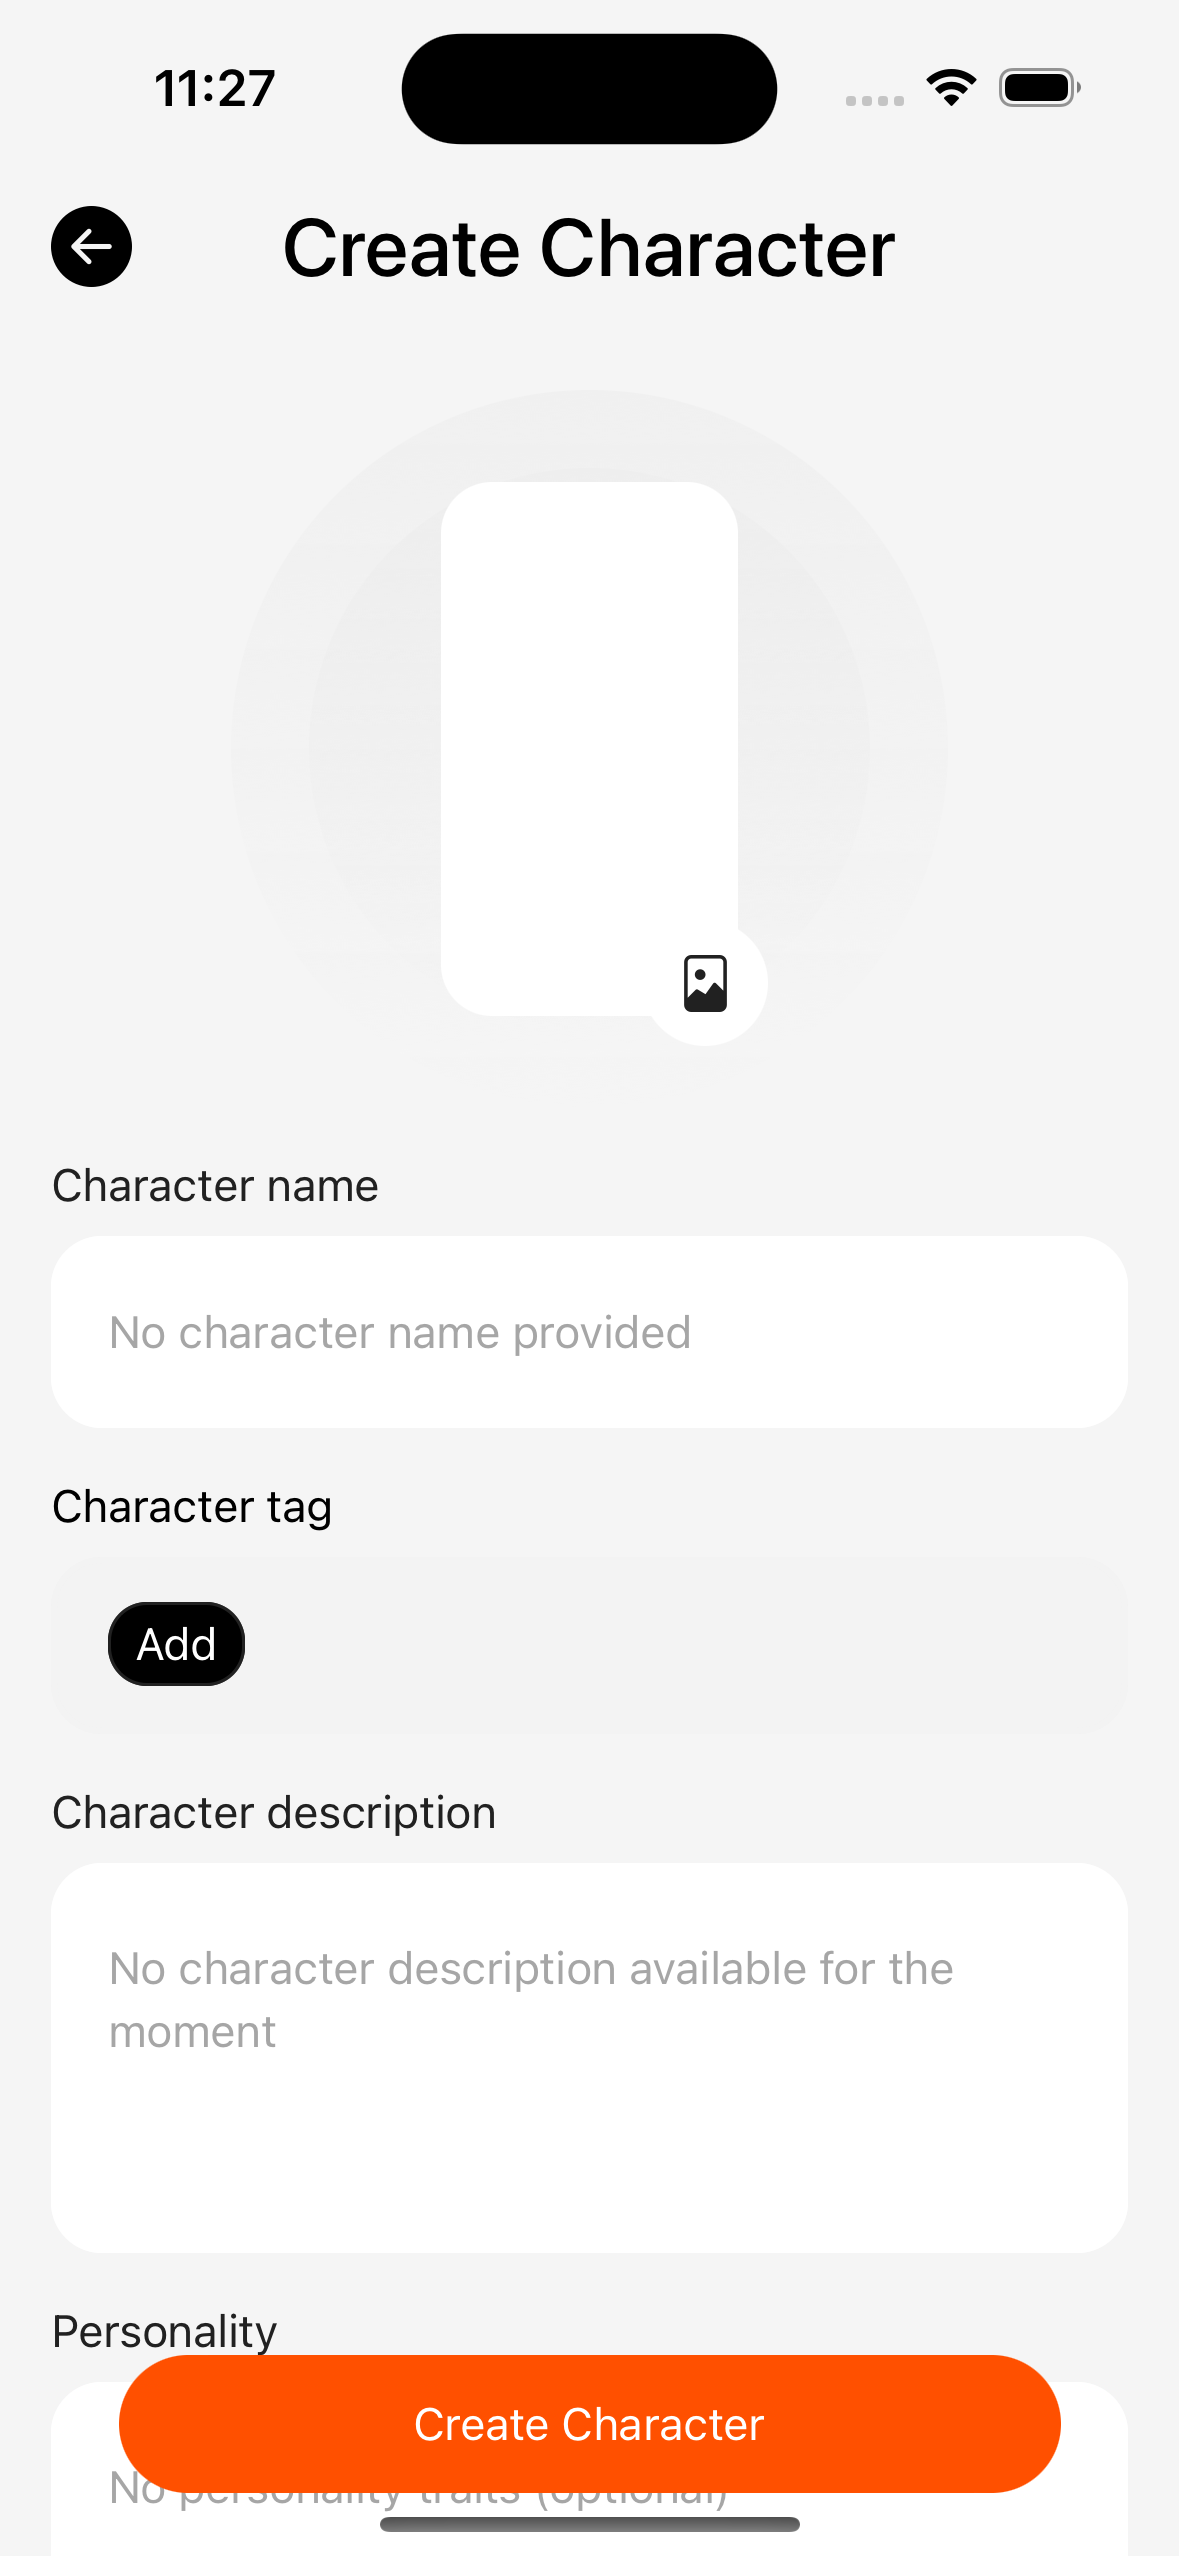
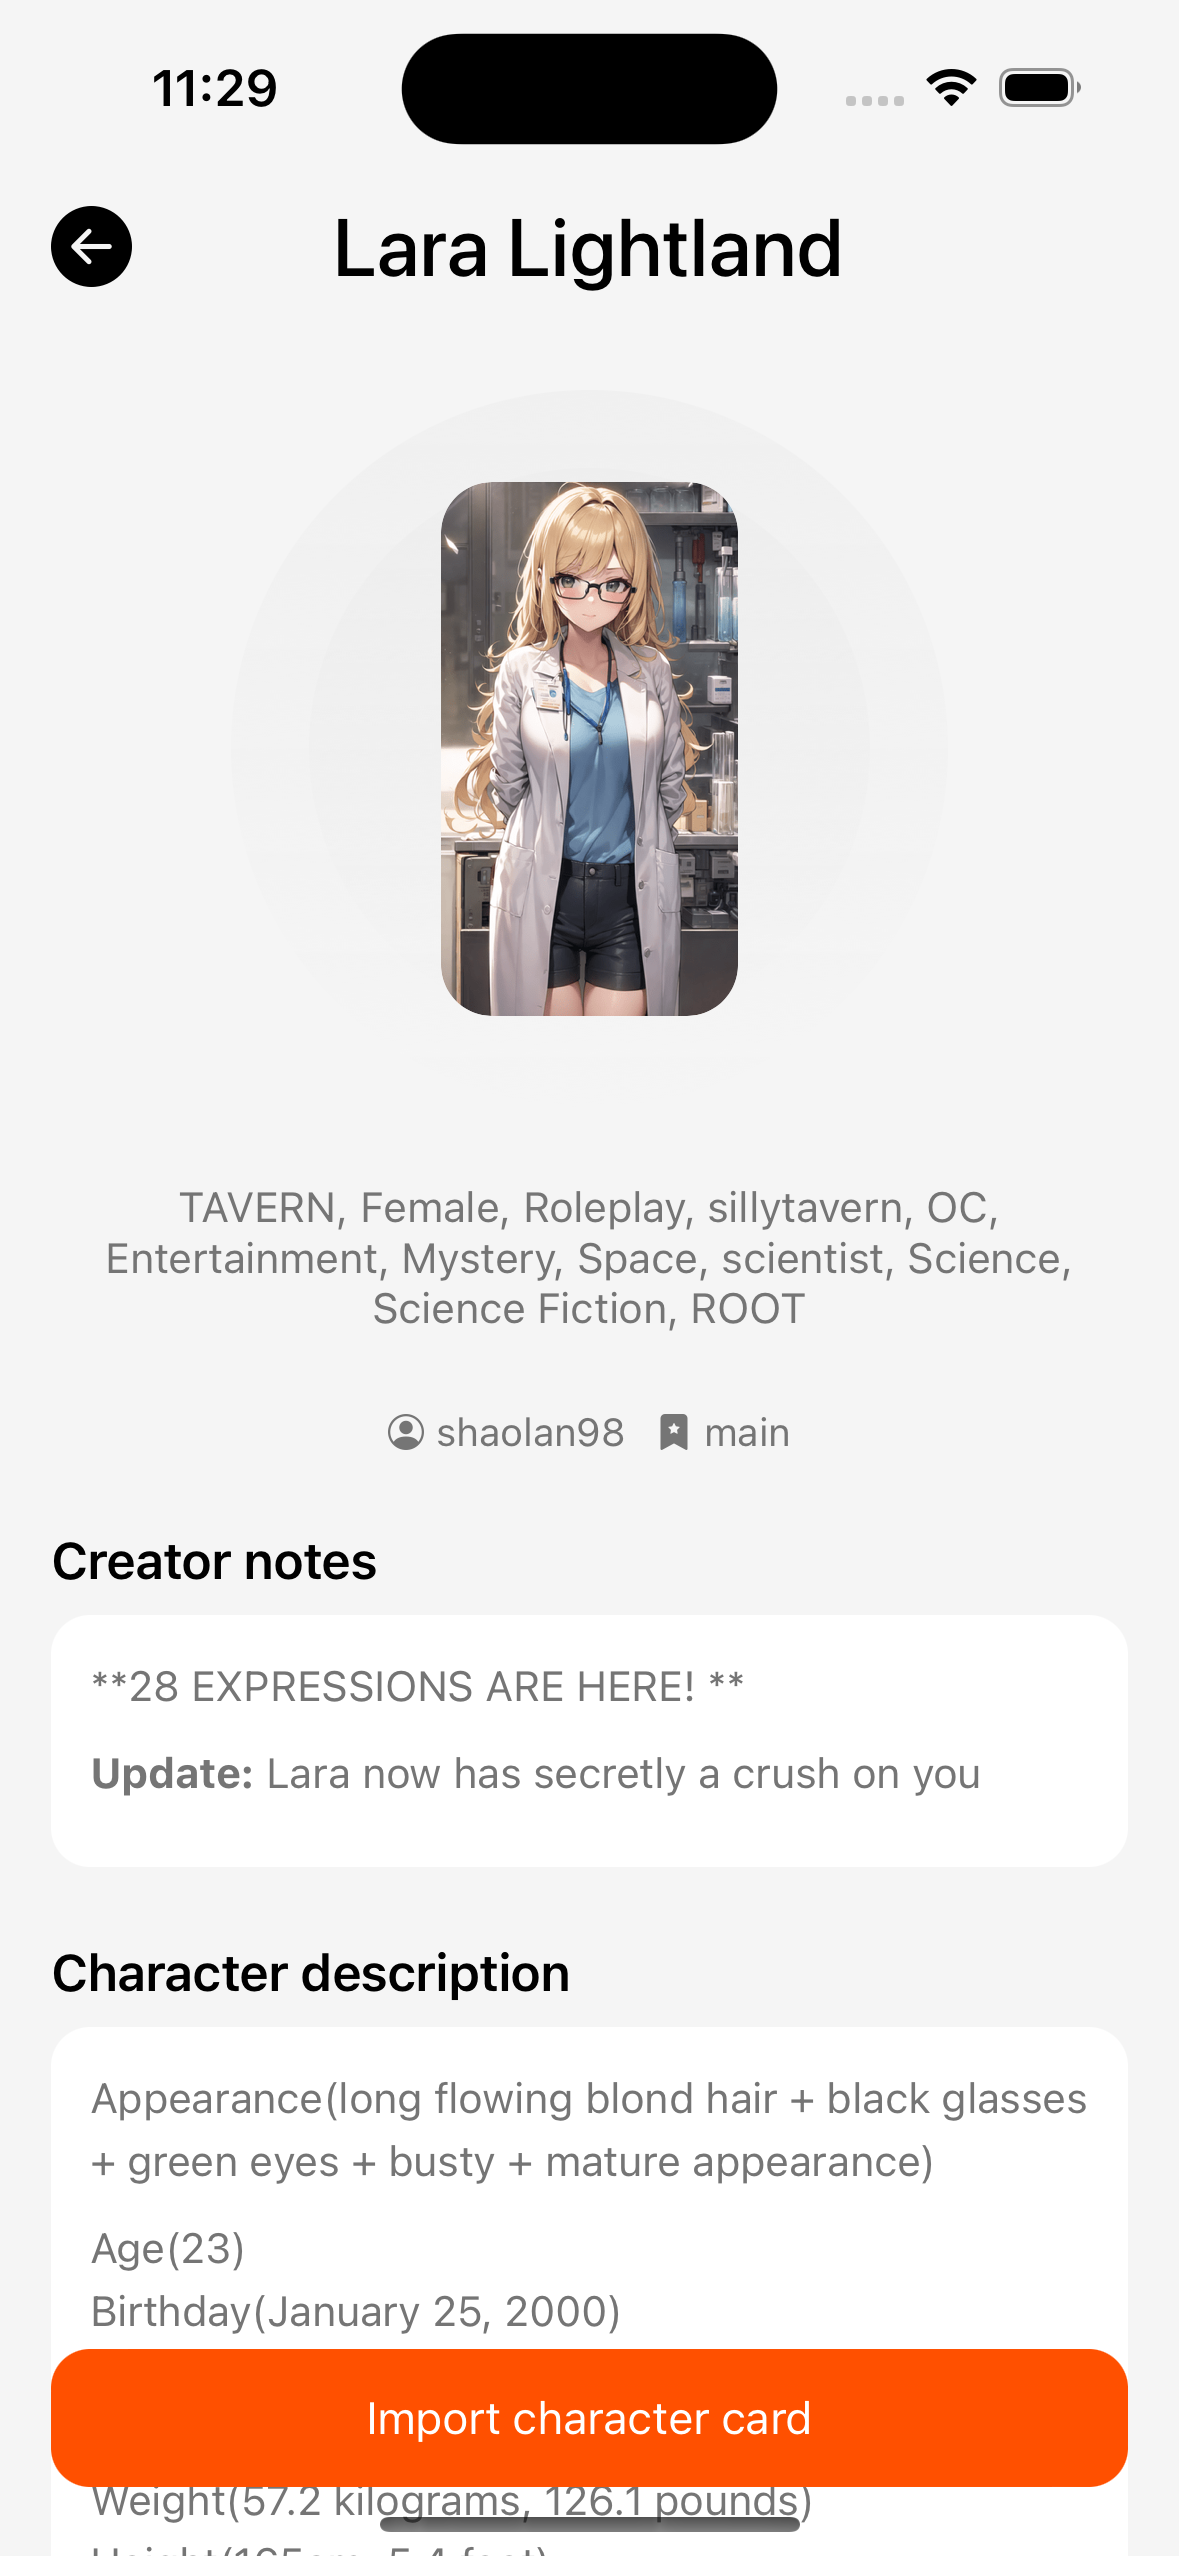
| Method | Action |
|---|---|
| File | Pick a PNG (tavern card) or JSON |
| Photos | Pick a PNG card image from the album |
| Link | Paste a character card download URL |
| Sample | Follow the prompt to import a built-in sample (if available) |
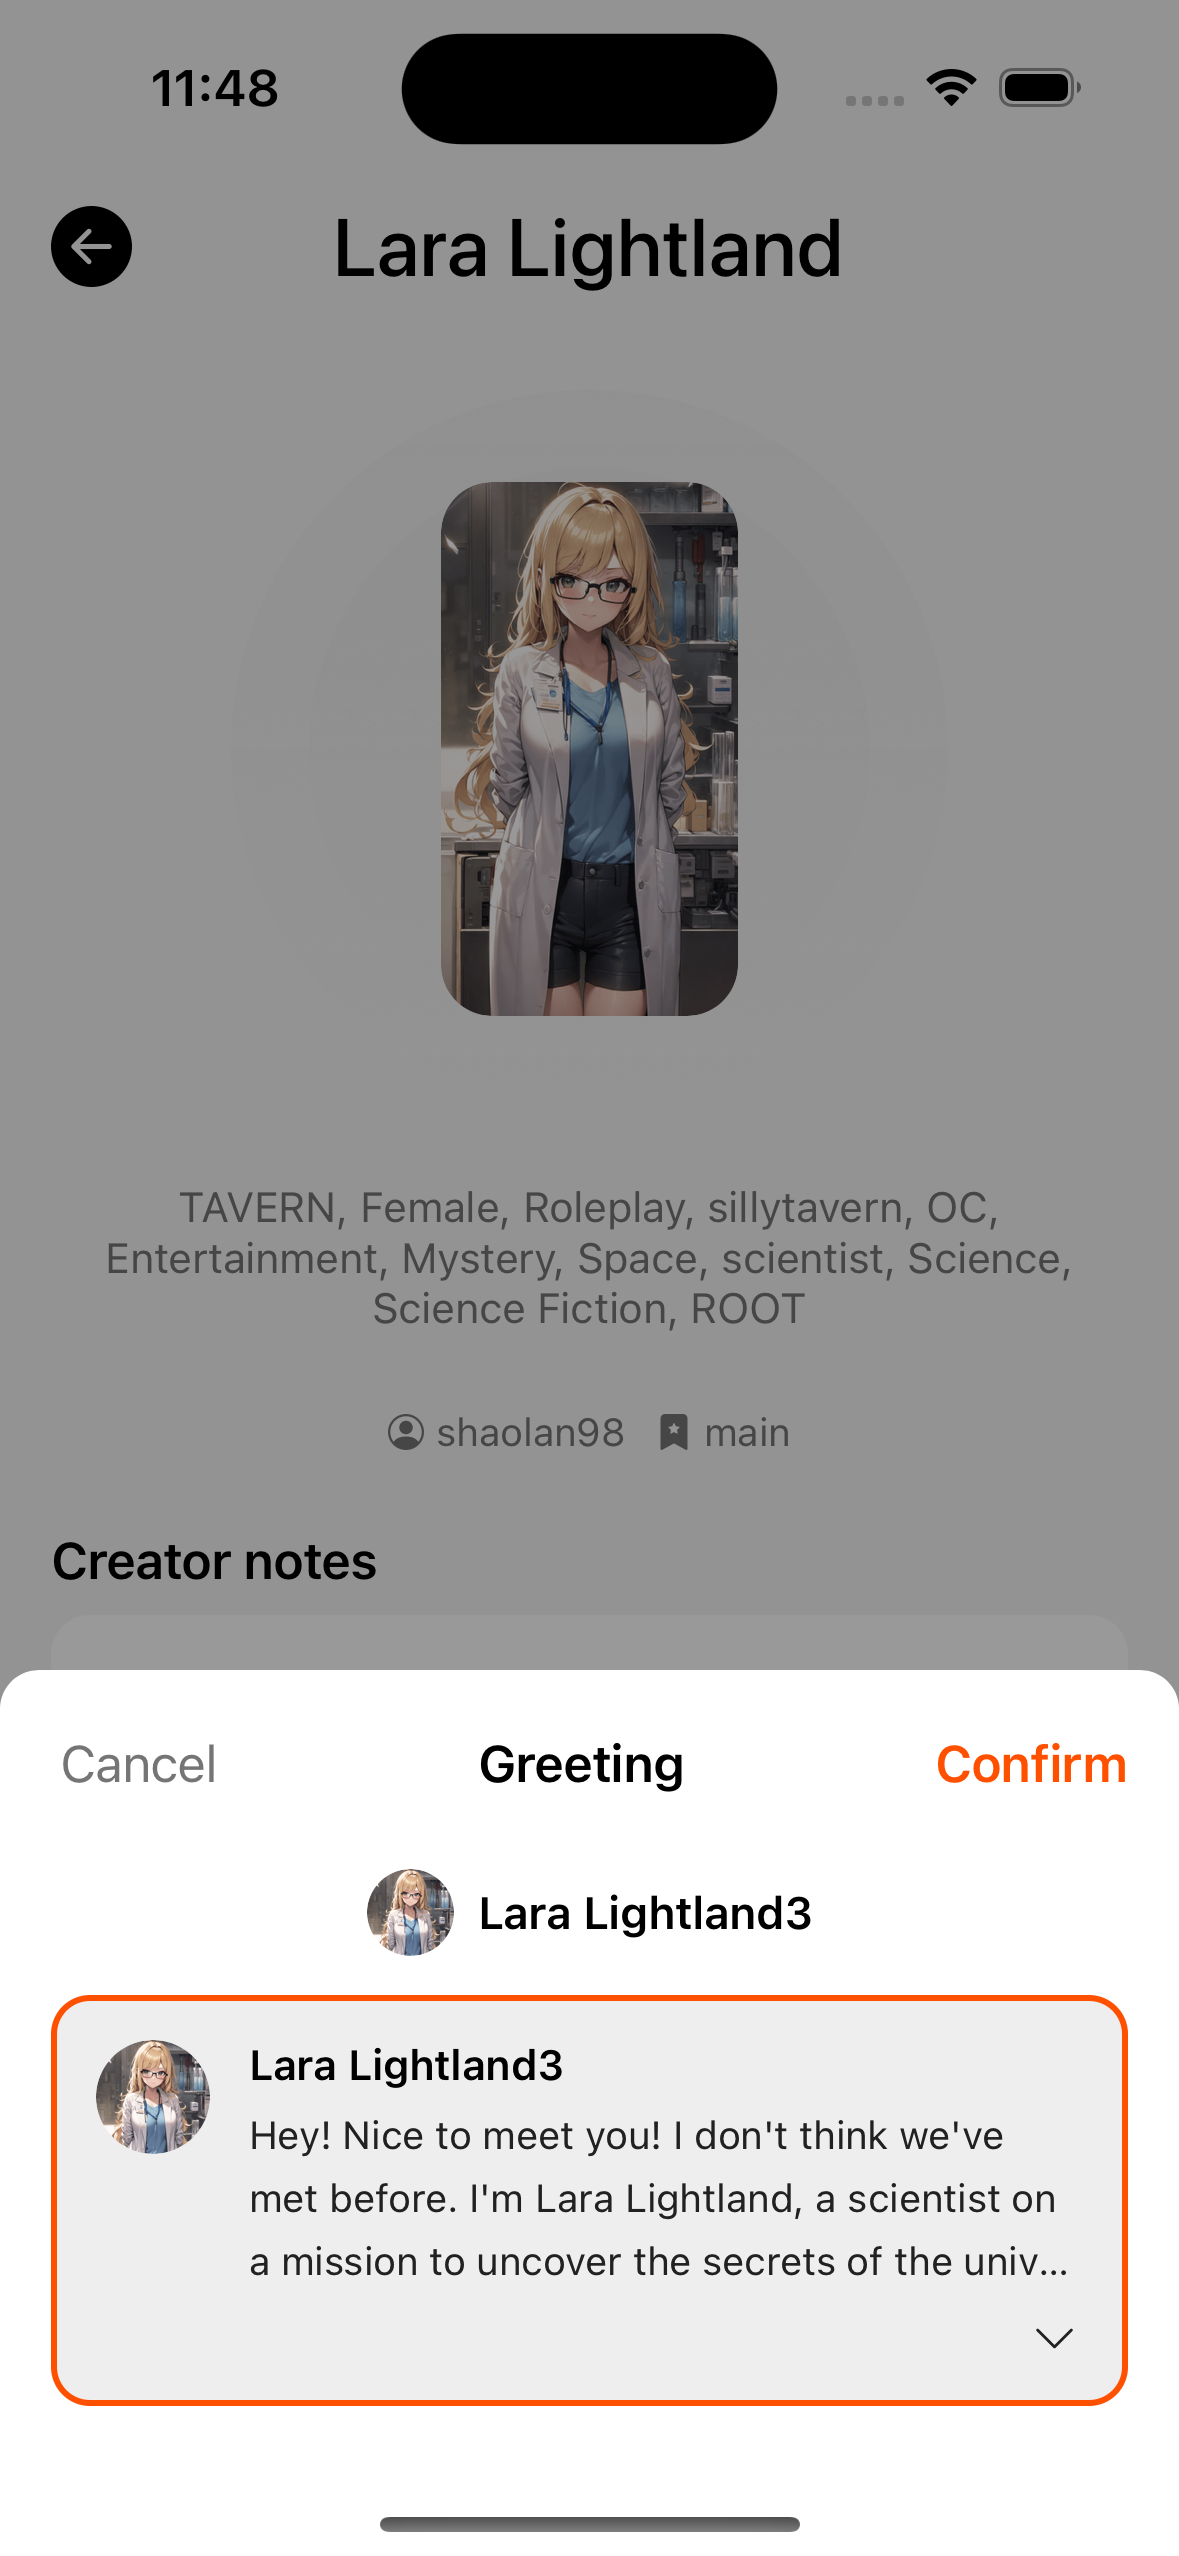
A single card opens preview first: confirm “Create new” or “Update same name”, and optionally copy the card’s lorebook / regex into the global libraries. After confirm, pick a greeting, then enter the chat.
3. Start chatting
- Open a chat from the character (or enter an existing session from the Chat tab).
- If there are multiple greetings, pick one when prompted.
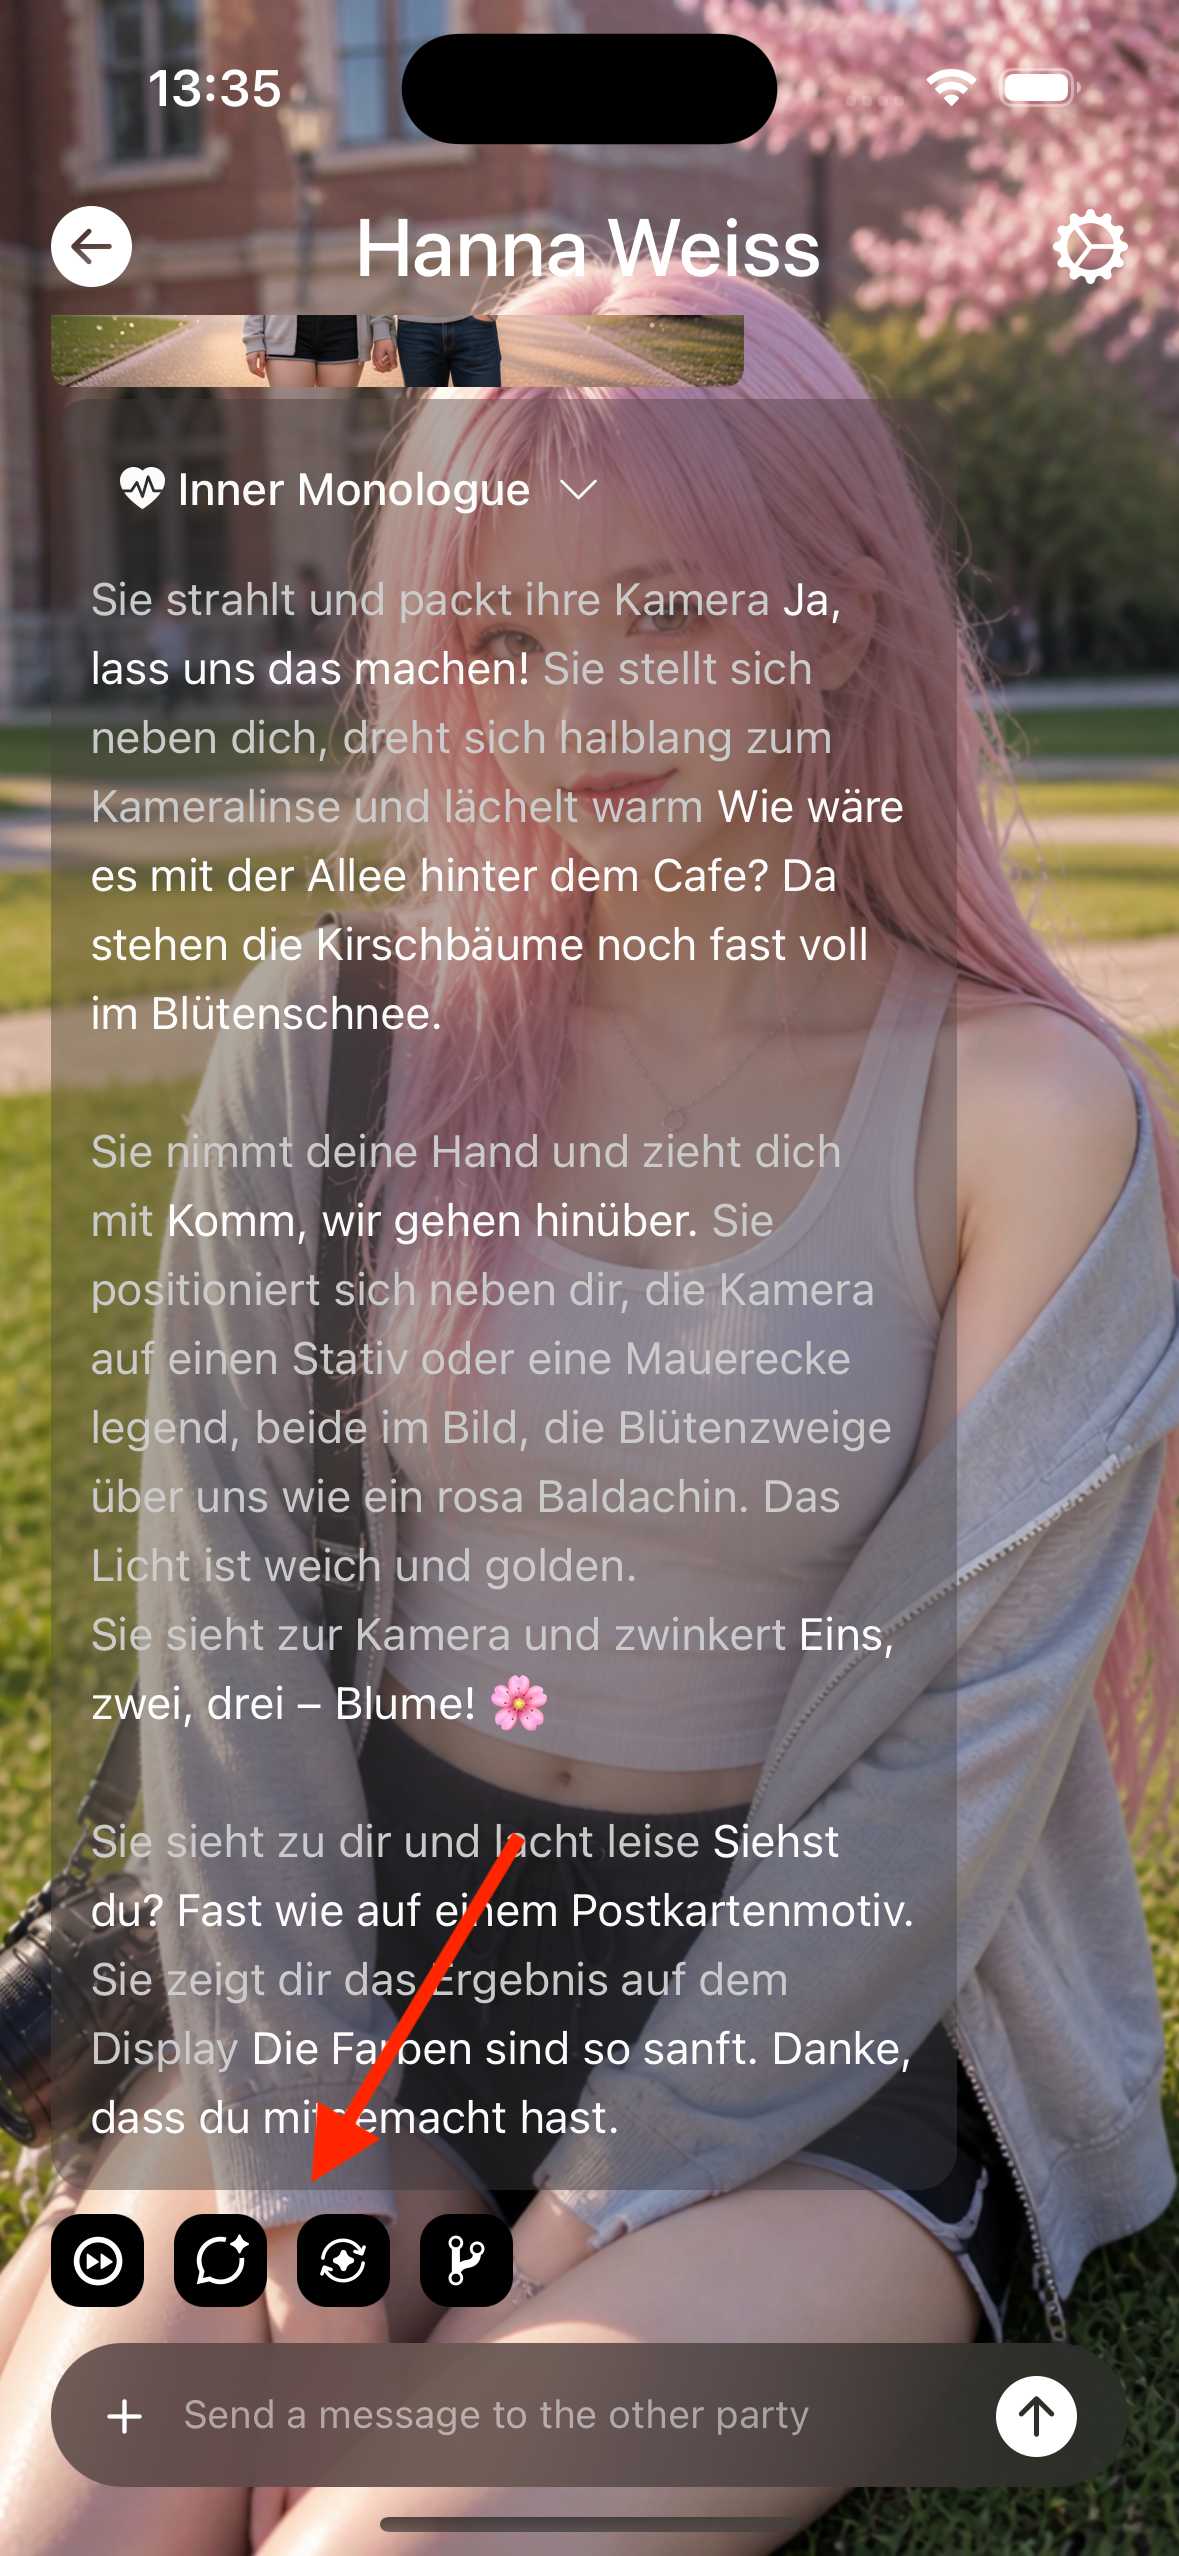
- Type and send; replies can stream.
- If no model is configured, the chat page prompts you to set up AI first.
4. Suggested next steps
- Chat: continue, regenerate, per-chat model / lorebook
- Backup: make a full backup soon
- No paid Key: Free cloud APIs
- Local PC models: 30-minute quickstart · Run local models
- On-device image gen: Image model deploy